
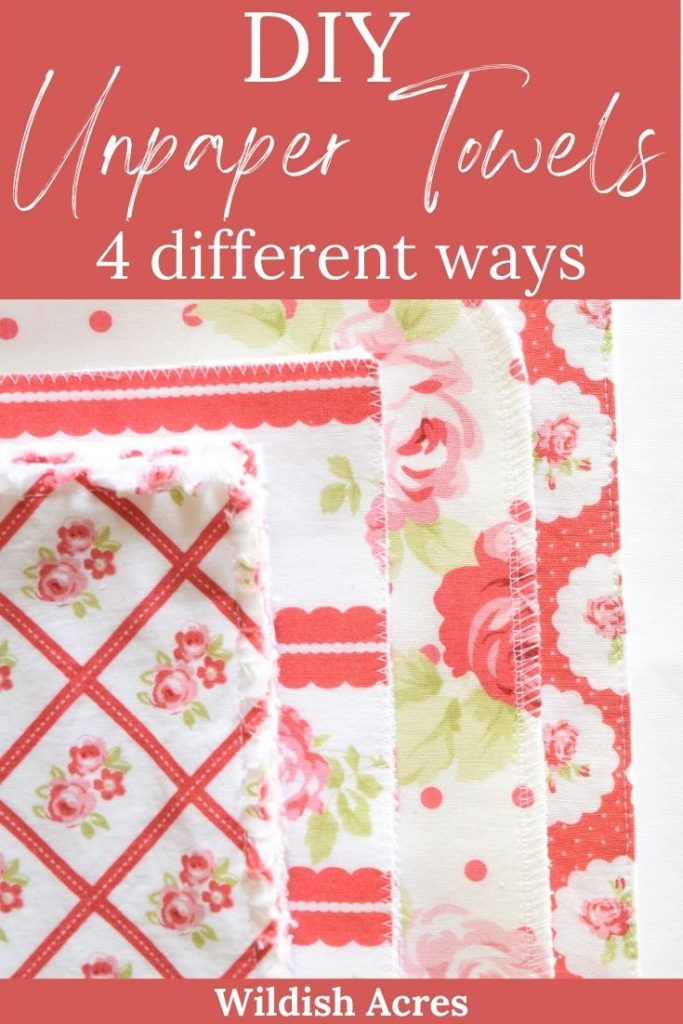
Learn four EASY ways to make your own DIY unpaper towels. These handy cloths are an adorable way to save you money!
This post contains affiliate links, which means I make a small commission at no extra cost to you. See my full disclosure here.
When I left the workforce to stay home with my children, my husband and I looked for ways to decrease our budget. One of those ways was not buying unnecessary, disposable paper products, like paper towels. I, obviously, still needed to clean up messes, so I decided to make my own unpaper towels. I experimented with a few different styles, and today I’m going to show you four of my favorite methods. They’re durable and, best of all, EASY to make!
I love that I never have to worry about running out of paper towels. If I’m running low, then all I need to do is throw in a load of laundry, which, if I’m being honest, I probably needed to do anyway. It also means that our family is producing less waste. There are literally no downsides to this!
What you’ll need to make your DIY unpaper towels
- 1 yard cotton fabric to match your kitchen decor
- 1 yard of absorbent flannel. Really, any absorbent material will work. Have some old towels lying around? Those are perfect.
- Coordinating thread
For the purposes of this tutorial, I’m using yard widths of fabric, but this is a great project for scrap fabric. You can cut them to whatever size you’d like or even cut them to match the size of your favorite paper towels from the store!
Instructions for making DIY unpaper towels
First, wash and dry all of your fabric to prevent any future shrinkage.
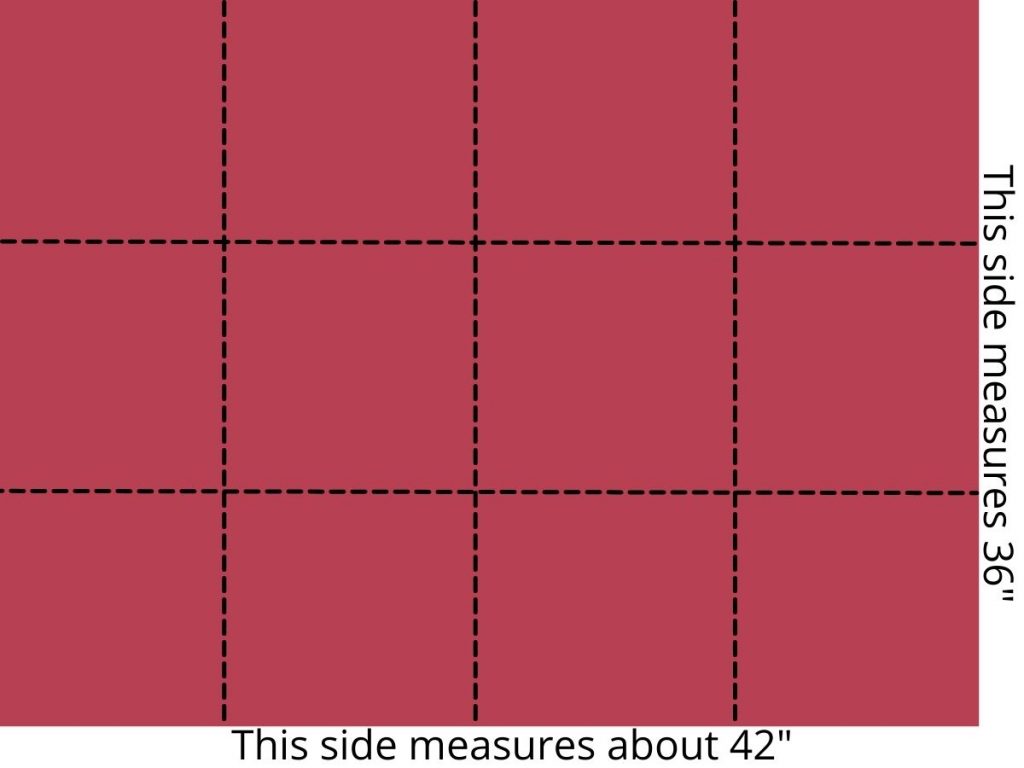
After that, cut your fabric to size. I like to cut mine into 10″ X 12″ pieces because I enjoy a large cloth for big messes. I can get 12 unpaper towels from a yard of cotton and flannel. It looks like this cut from a yard.
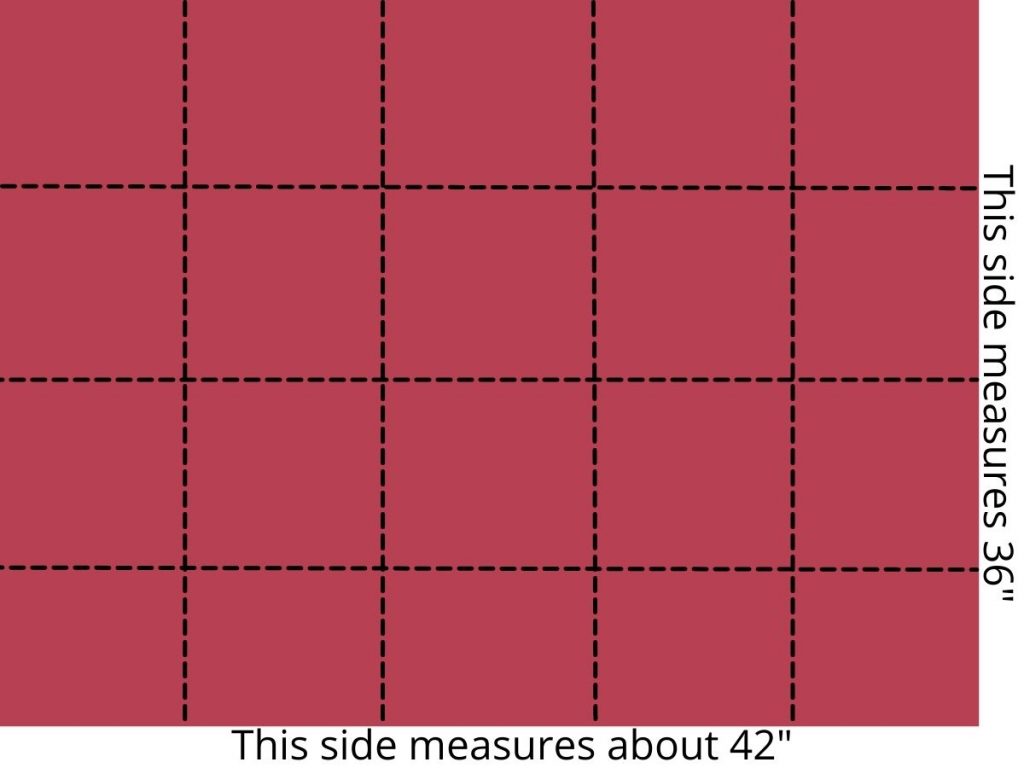
However, if you like a smaller size, you can get 20 unpaper towels from a yard if you make yours 8″x 9″. They’re cut like this.
Here’s where you get to choose your own adventure! Did you read those kinds of books as a kid, too?
Once your pieces are cut to size, choose a method to try below.
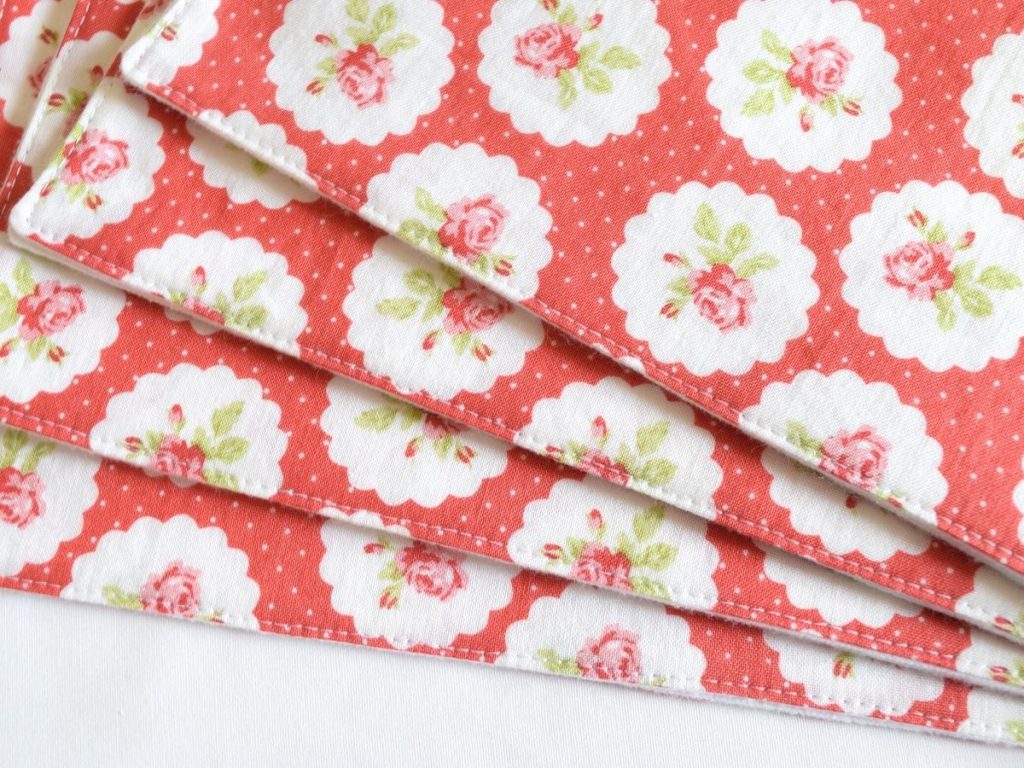
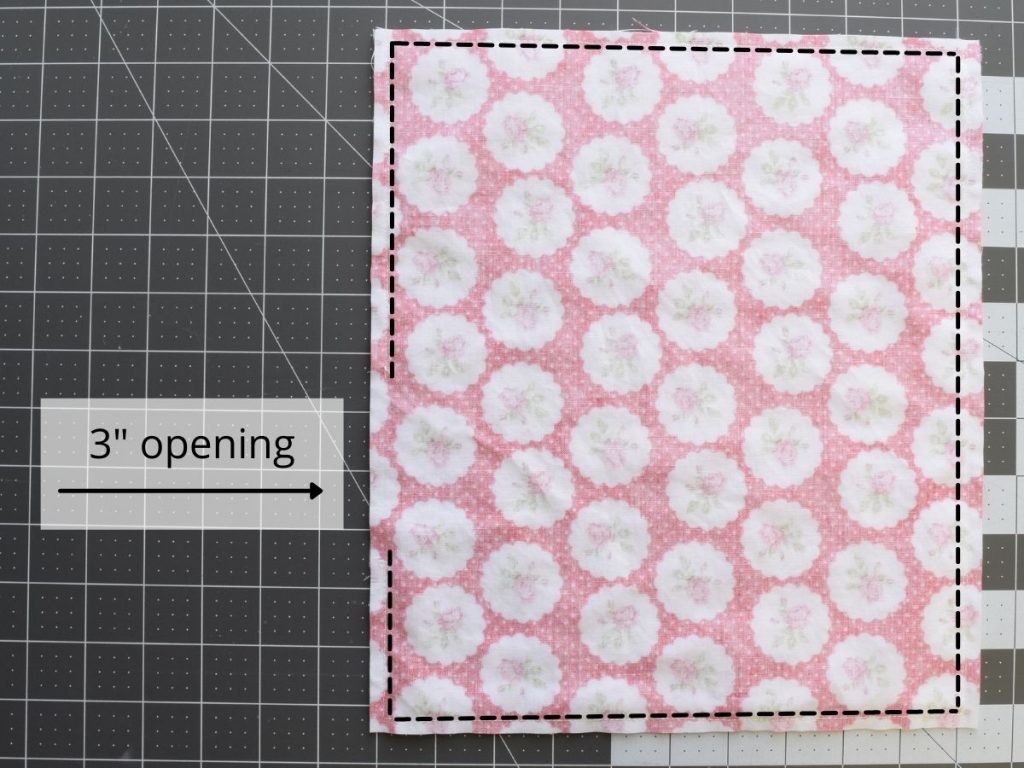
Method 1: Finished edges
This method will give you the cleanest looking finish.
Put a cotton piece and a flannel piece right sides together, then sew around the edges with a 1/4″ seam allowance leaving a 3″ opening.
Clip the corners to reduce bulk. Be sure not to snip through your stitches.

Turn it right side out, then push corners out with something like a chopstick.

Sew around the edges, making sure to close the gap you left in the stitching.
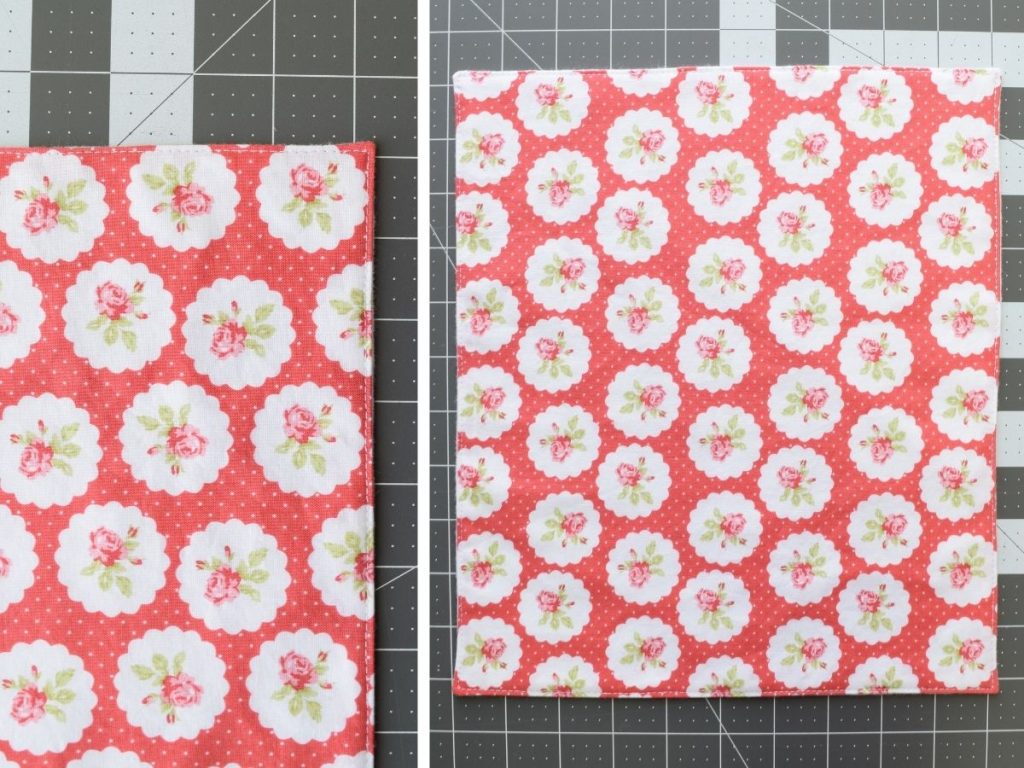
Done! Easy, right? The next three are even easier.
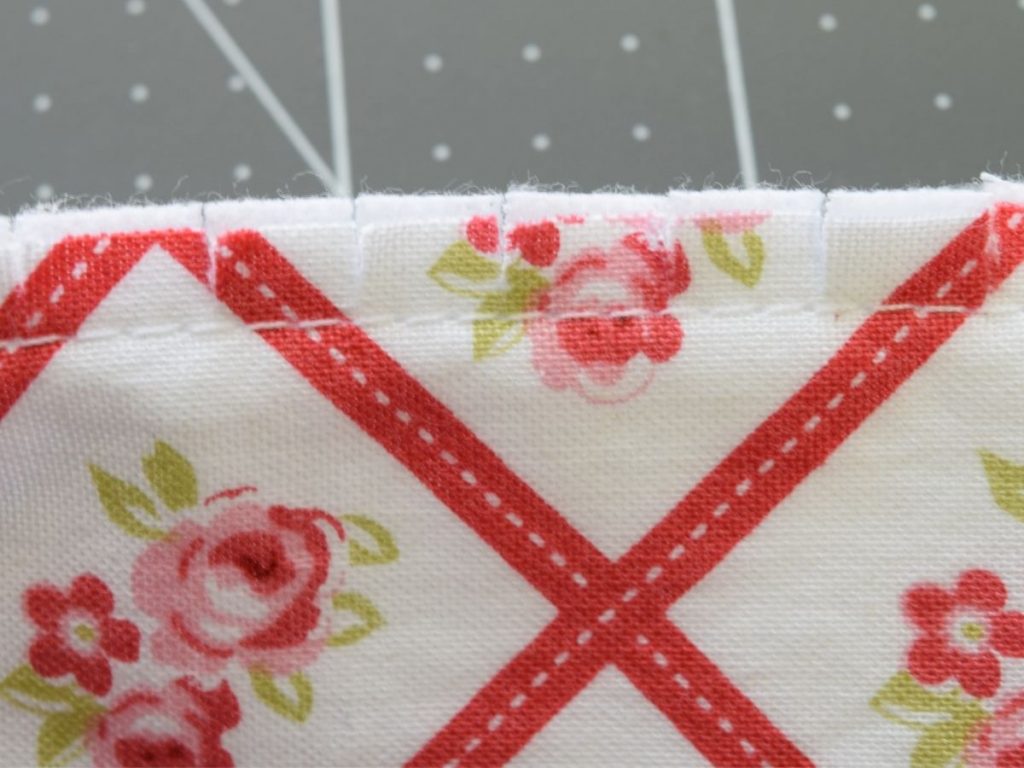
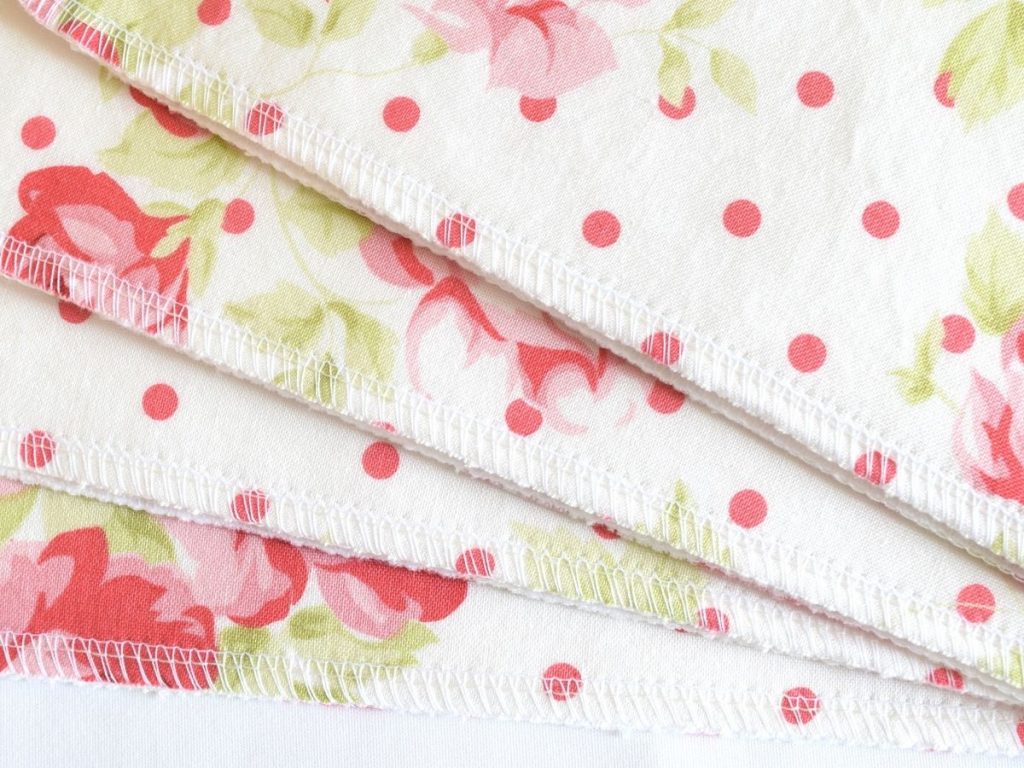
Method 2: Clipped edges
With this method you’ll get a raw, fluffy hem. I like this one because the edges seem to be extra absorbent.

Put a cotton piece and a flannel piece wrong sides together, then sew around the edges with a 1/4″ seam.

Now, every 1/4″ or so, clip the edges right up to, but not through the stitching.
If you have kids that are of an age to handle sharp scissors and like to help, this might be a job for them. Mine thought it was great fun, which was fine with me because this step can feel a bit tedious. I like to use snippers. They have spring so they open up again by themselves and really speed up the process.
After each wash the edges will get fluffier. Like this.

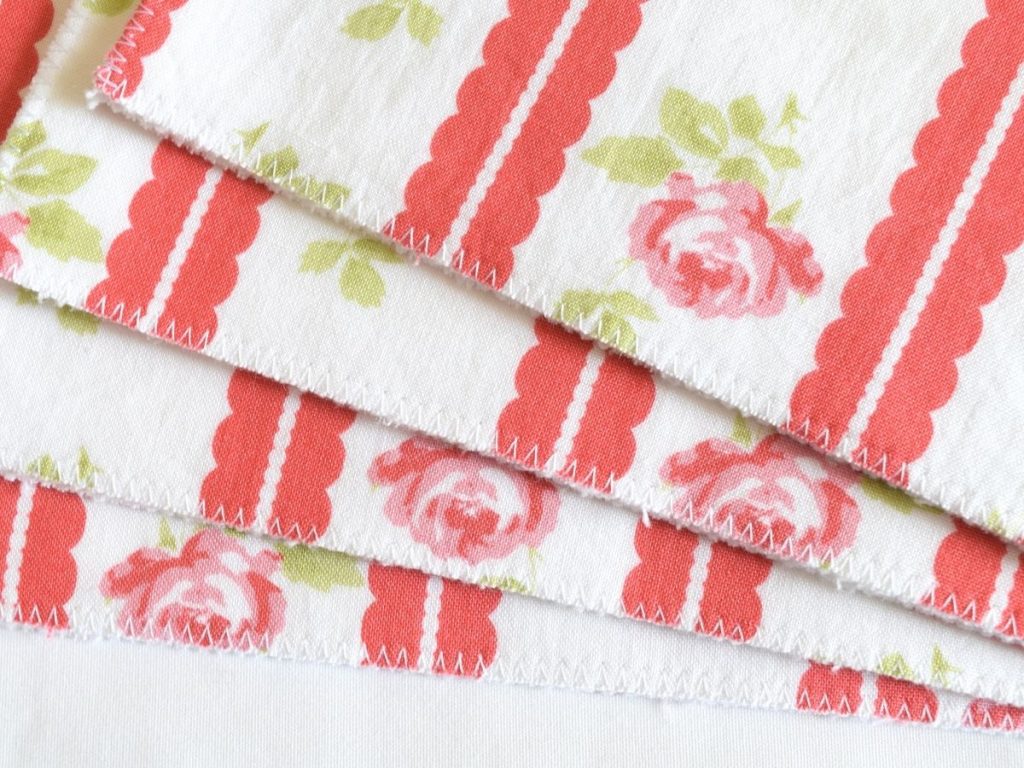
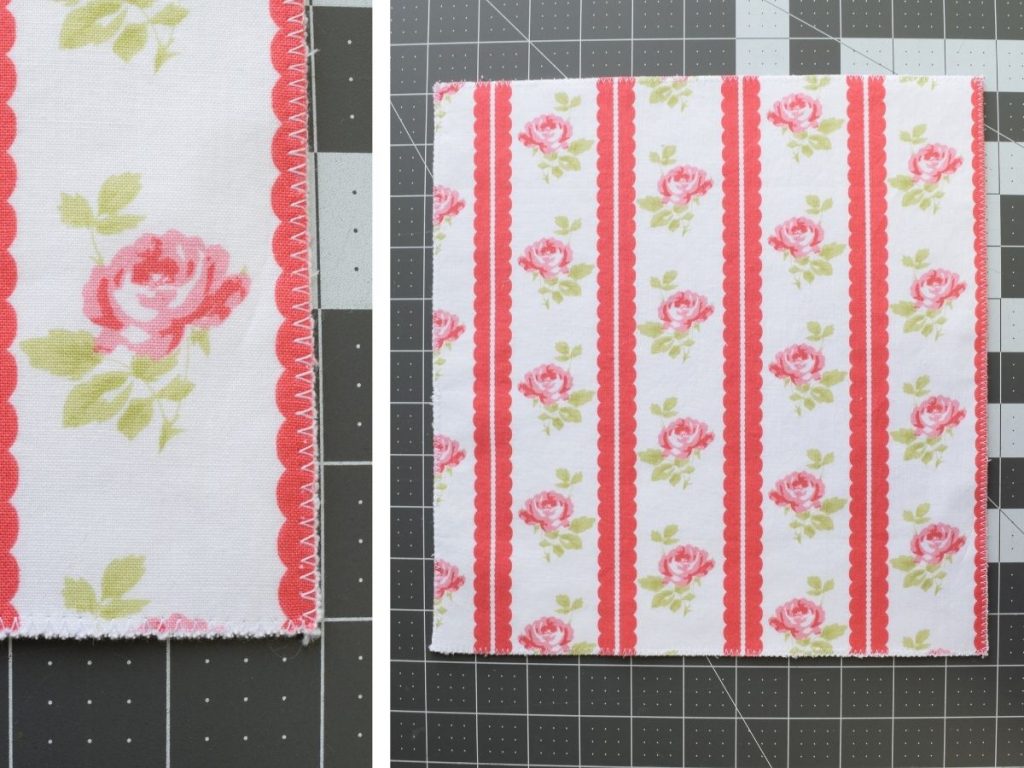
Method 3: Serged edges
You’ll need a serger for this one. If you don’t have a serger, then you can just move on to Method 4. This is my favorite way to make unpaper towels, so it’s the one I use most often. I like it because my serger can trim the fabric and finish the edge at the same time. It’s a huge time saver.
Put a piece of cotton and a piece of flannel wrong sides together, then create curved corners by tracing a circular object in each corner with a fabric marker. I used a mason jar ring. You can trim the corners now or let your serger do the trimming. That’s what I do. Sometimes I don’t even mark my curves, I just eyeball it. I’m a rebel.

Serge around the whole unpaper towel.

Method 4: Zig zag edges
If you don’t have a serger, then try this for a similar finished result.
Put a cotton piece and a flannel piece wrong sides together.
Set your sewing machine to a zig zag stitch. It should be wide enough to capture the entire edge.

Sew around the whole unpaper towel. Back stitch at the end to keep the threads from unraveling.
And that’s it!
I’ve seen a lot of unpaper towels for sale that have snaps attached to them. They’re cute because you can roll them up like a regular paper towel roll. I’ve never added snaps to mine because I know myself, and I know that I won’t take the time to snap them all back together when I do laundry. I just don’t have that kind of time or patience. Instead, I like to lay them flat in a drawer. It keeps the visual clutter down on the countertop and they’re still within easy reach if I need one quickly.
All four of these are super easy to make, so give them a try. You’ll be on your way to saving money and THE WORLD!

Love it! We like hankies and cloth napkins too. But I draw the line at reusable TP!!!! Haha!
I’m excited to make theses
Do I need to sew across the towel, like an “X”, to keep it from misshaping when washed?
You certainly can, but it shouldn’t be necessary. I’ve washed mine many times with no issues!