
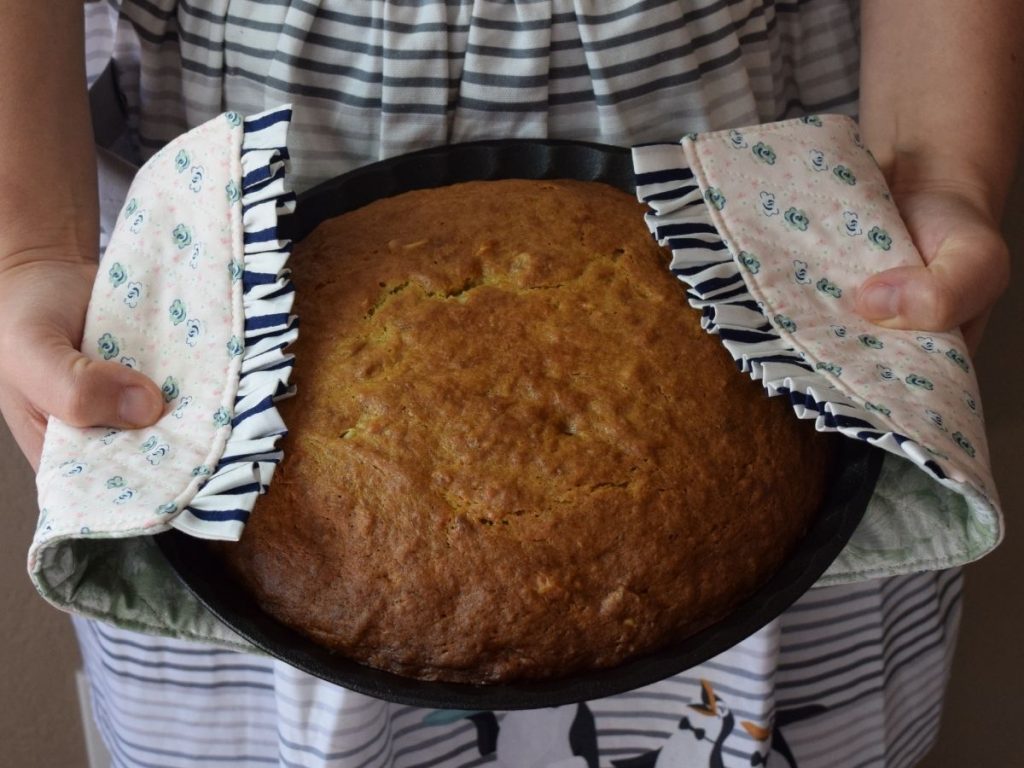
Learn how to sew a hot pad with this simple tutorial. The charming, ruffled ends will look so sweet in your cottage style kitchen!

I have a small kitchen. I also spend most of my daytime hours in it. You’ll find me preparing meals, eating meals, cleaning up after meals, and homeschooling my kids at the kitchen table. Because of its size, it also means that I don’t have much opportunity for decor. My limited counter space is precious and there’s almost no wall space. I have to be intentional about the things I allow into my kitchen. If it doesn’t serve a practical purpose, then there’s simply no place for it. That’s why I love for what I do have to be pretty, as well as practical whenever possible.
These hot pads are everything I could hope for. The sweet little ruffles are so adorable, and I’ll be reaching for a pair of these every time I need to pull something out of the oven. I also love their rectangular shape. I find that a rectangle fits my hands better than a square shape.
This post contains affiliate links, which means I make a small commission at no extra cost to you. See my full disclosure here.
Here’s what you’ll need to sew one hot pad
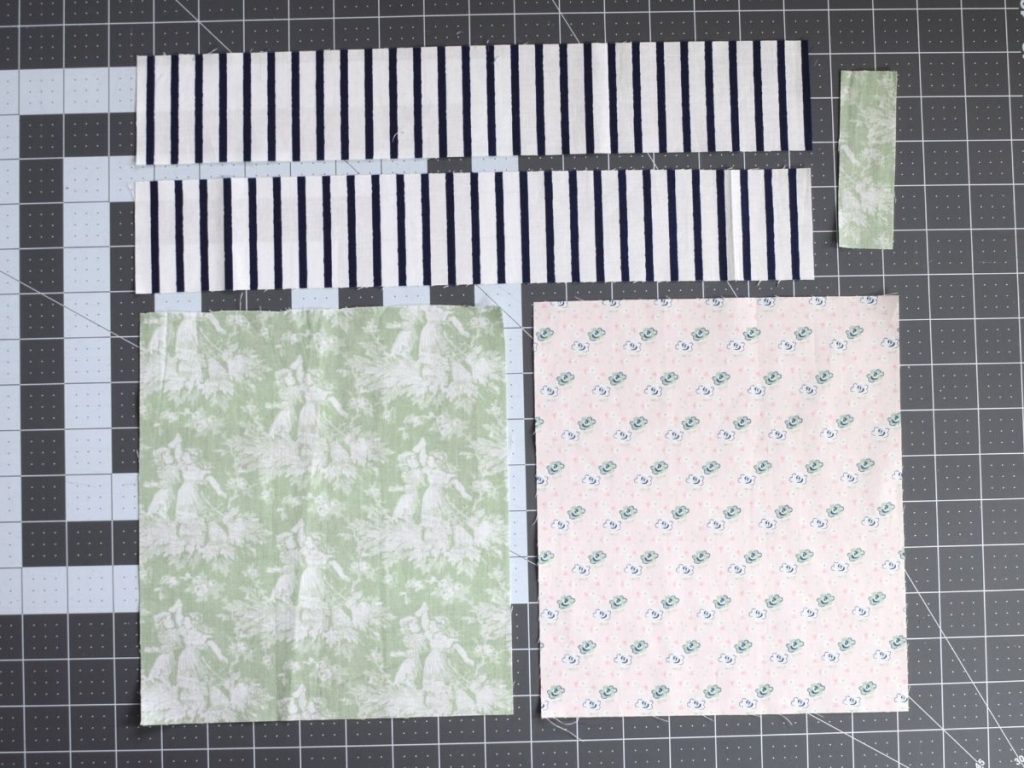
- 2- 9″ x 8″ pieces of fabric, one for the front and one for the back
- 2- 2.5″ x 15″ strips for the ruffles
- 1.25″ x 4″ strip for the hanging loop
- 9″ x 8″ Insul-Brite insulated thermal lining
- 9″ x 8″ cotton batting
- coordinating thread
Let’s get started!
Put one of your 9″ x 8″ fabric pieces on top of the Insul-Brite and the other on top of the batting that you’ve prepared. If you don’t have Insul-Brite, you can use extra layers of regular batting. Even layers of old towels cut to size will work fine in a pinch.
Quilt the pieces together. I used a series of diagonal lines, but you can do straight lines or any other design you choose. Trim off any extra threads.

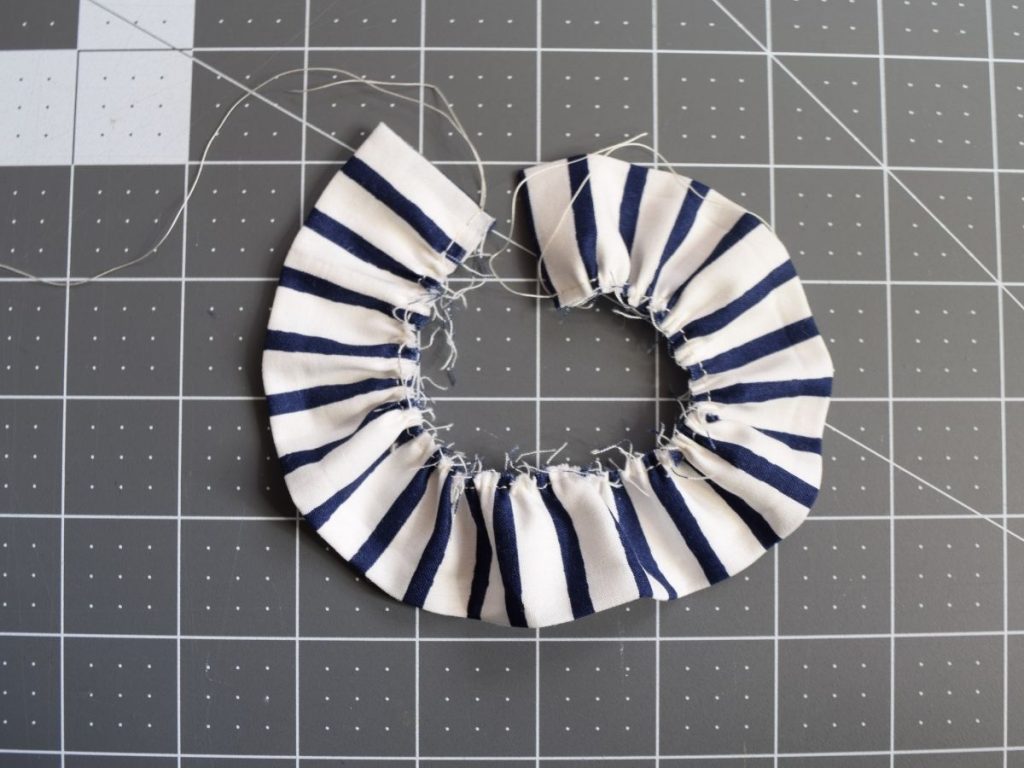
Fold each end of the ruffle strips in about 1/2″ and iron in place. Then iron the strips in half.

Set your sewing machine to its longest stitch length and sew along the raw edge of the strip. Leave at least a 2″ tail of thread at each end.

Pull one of the threads to create your ruffle. It should measure 7″ long when you’re done.
Now for the hanging loop. In my opinion, this step is optional. I added it because I know a lot of people like to hang their hot pads near the stove, but I prefer to keep mine in a drawer and don’t ever hang them. So, if you don’t need a loop, you can just skip these next couple steps.
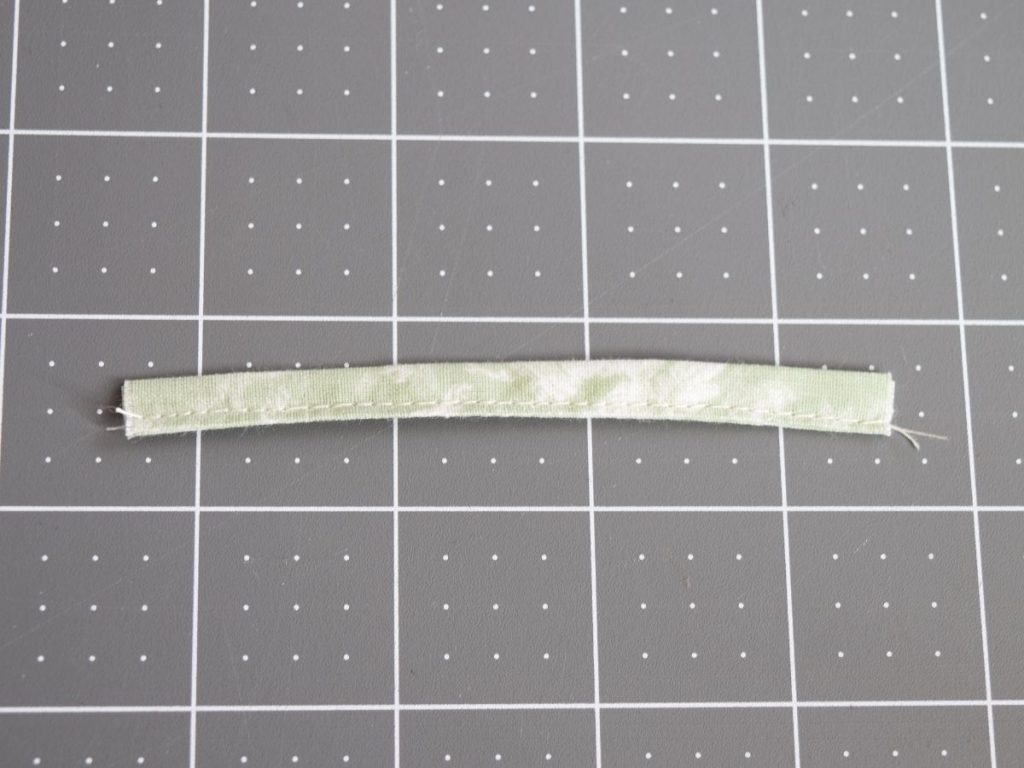
Iron the 1.25″ x 4″ strip in half. Then fold the edges to meet the middle and iron again. You’ll end up with a really skinny strip.

Sew along the open edge to close it.
Pin the ruffles to the front of the front piece. Pin them to the 8″ sides and be sure to leave 1/2″ on each end. I also make sure to pin the ends of the ruffles out of the way of the seam, you don’t want it to get caught when you sew up the sides. Then pin the hanging loop to the middle of the top, matching raw edges together. It should look like this.
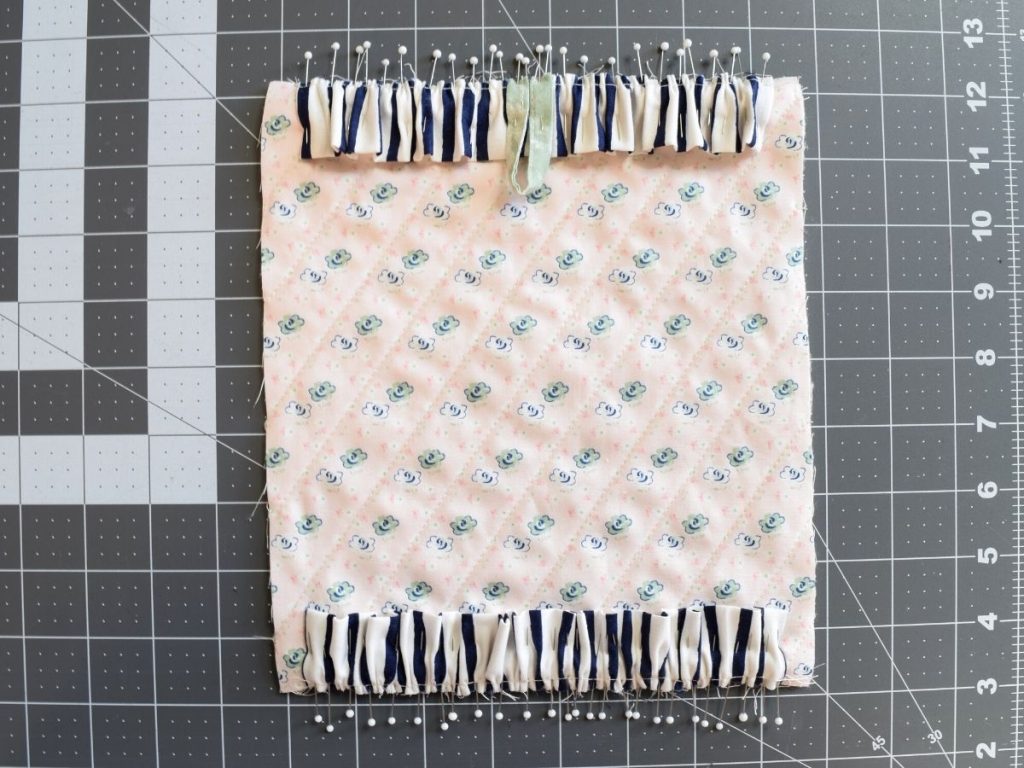
Put the bottom piece on top of all of this, right sides together. Sew around the edges with a 1/2″ seam allowance, leaving an opening about 3″ long on one side.

Clip the corners, but make sure not to cut through your stitching.
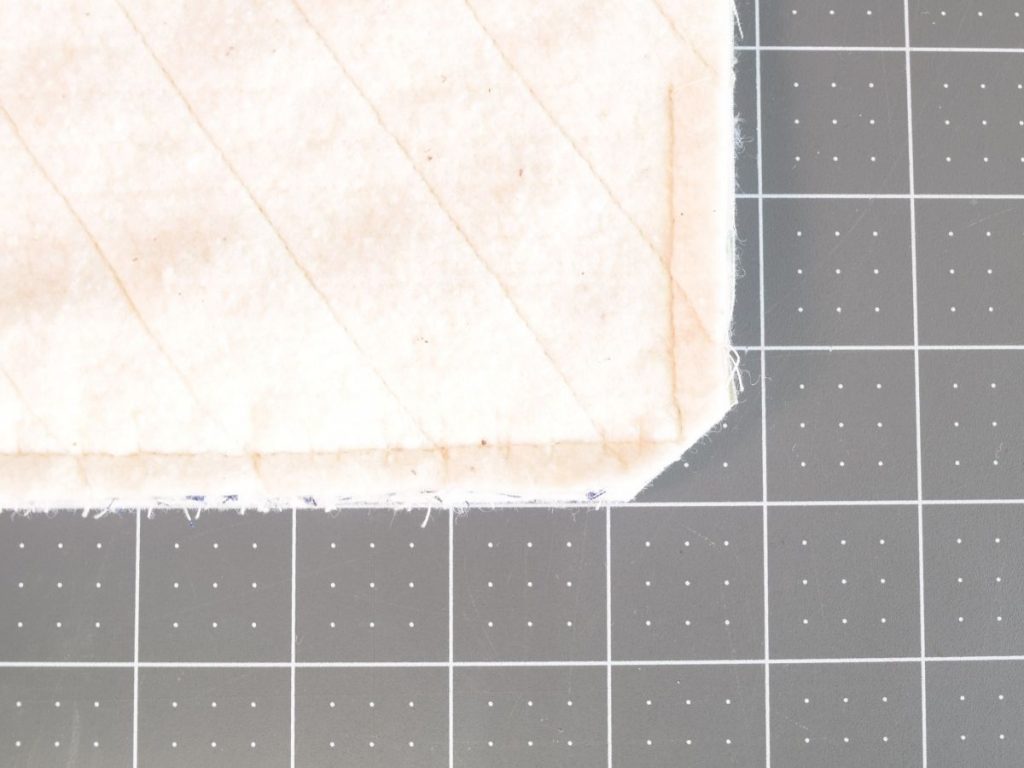
Turn it right side out. Pin the open side closed.

Top stitch around the edges, making sure to close the opening. And now it’s done! Yay! Sew one more for a pair.

Is your kitchen in need of some new hot pads? I’d love to hear how yours turn out!

Leave a Reply