
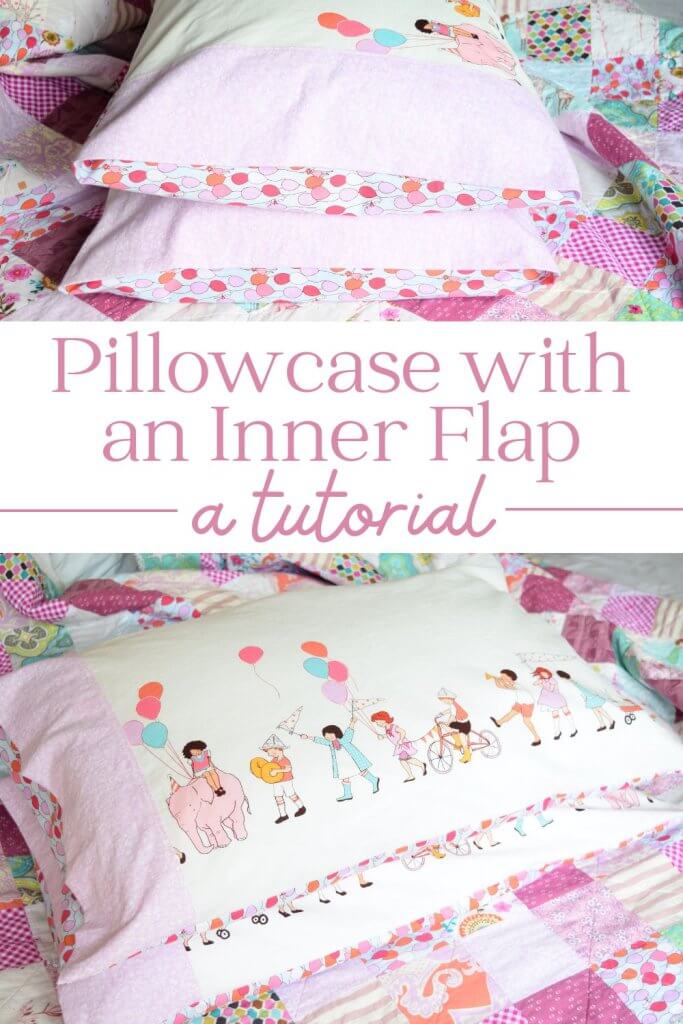
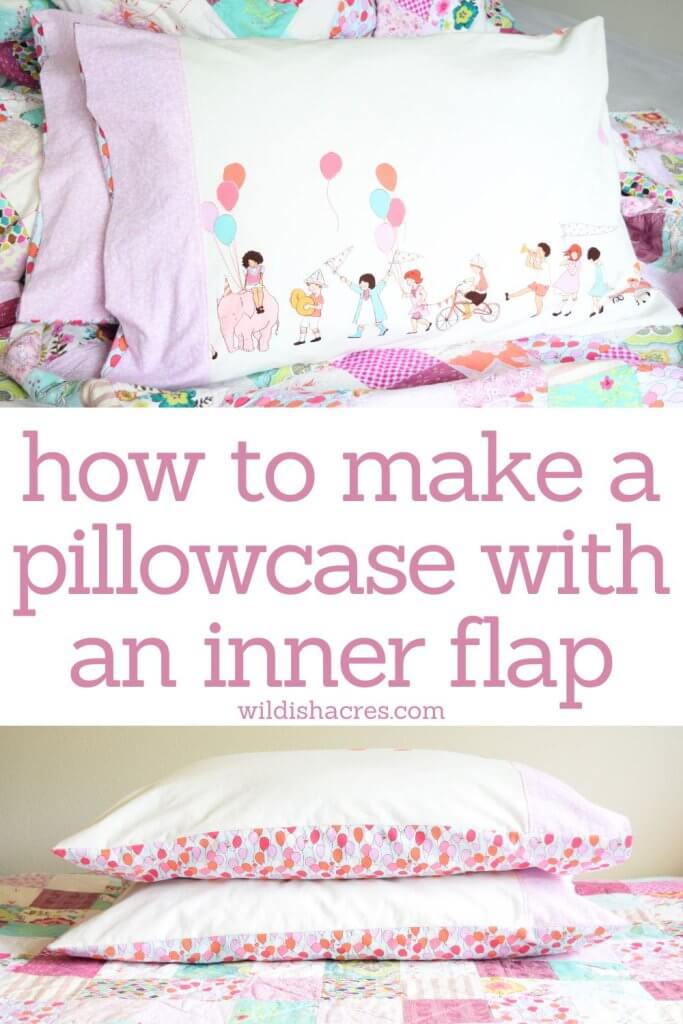
Try this step-by-step tutorial to make an easy pillowcase with an inner flap. If you have a basic sewing machine and can sew a straight line, you can make this simple pillowcase!
This post contains affiliate links, which means I make a small commission at no extra cost to you. See my full disclosure here.
I bought some pillowcases in this style for the first time just a few years ago. At that point, I’d made several throw pillow covers with an envelope closure, but it never occurred to me to make an envelope pillow cover in a standard pillowcase size! Brilliant!
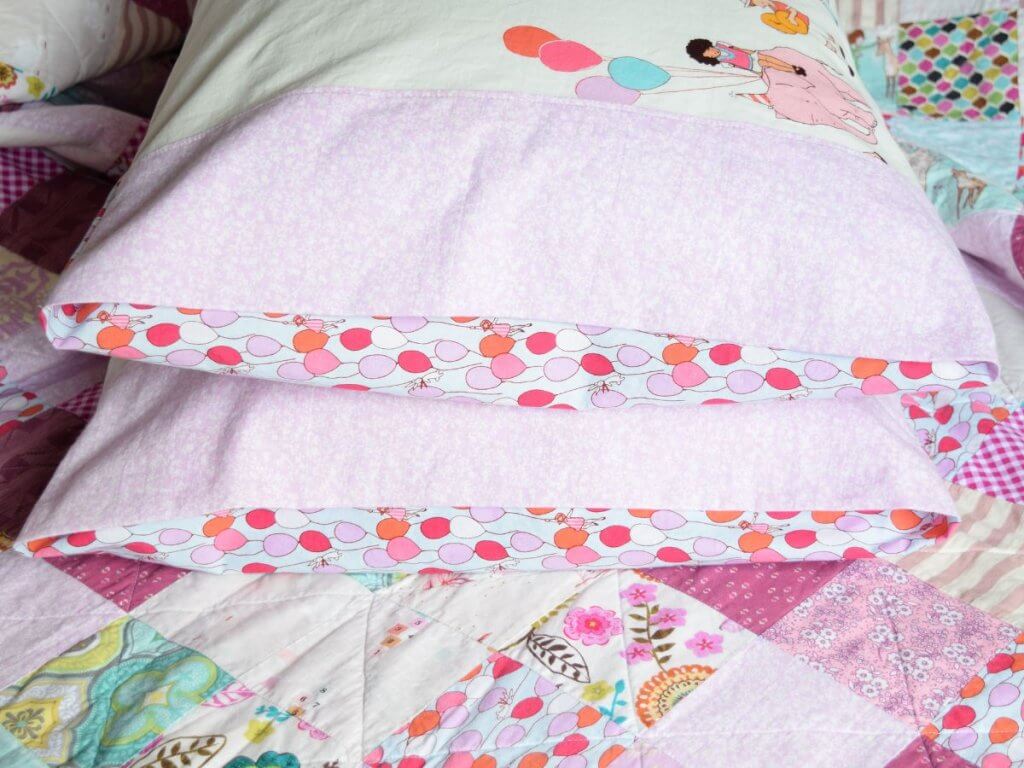
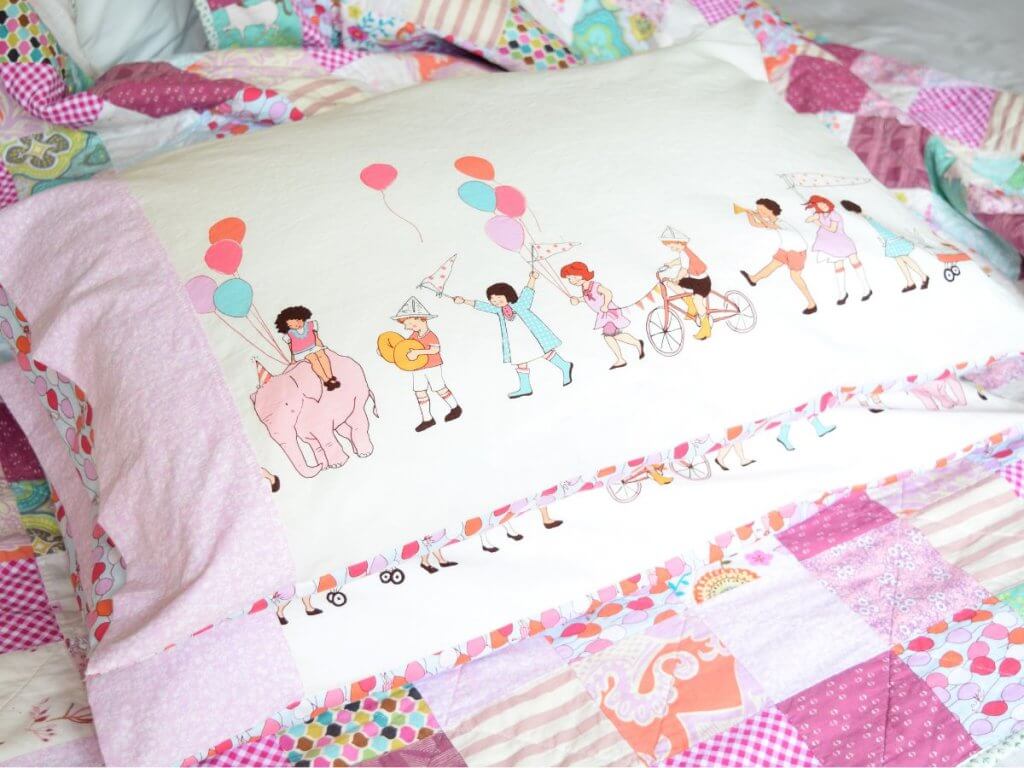
I love how the flap keeps your pillow from sliding out while you’re sleeping. In fact, the envelope flap keeps you from ever seeing the pillow insert itself at all. How handy when it isn’t very attractive! Your pillow is completely enclosed in whatever pretty fabric you choose.
Which brings me to perhaps my favorite thing about making your own pillowcases. Options for personalization are endless! You can choose from all kinds of different fabrics. First, start with your fabric type. I love cotton or linen pillowcases, but you could even do a silk or satin pillowcase if that’s your thing. (I hear those last two are great for your hair and skin.) Next look for your prints, or perhaps a solid. You can match it to your bedding or choose a theme like a favorite character or movie. Maybe you could even have a few different ones to coordinate with your seasonal decor!
I really love to bring in little handmade touches when I’m decorating. They can add so much charm to a space. If you’re making pillowcases for a girl’s room, try this scalloped bunting to match!

Let’s sew an easy pillowcase with an inner flap
These are so fun to make!
Step 1
To prevent future shrinkage, prewash and dry your fabrics. Then press them flat with an iron.
Do not skip this step! You don’t want to spend time and materials on a pillowcase that won’t fit your pillow after you wash it.
Also, keep in mind that fabrics from different manufacturers can shrink at different rates. This can be an issue if you use them together without washing first. The fabric that I chose for the cuffs in this project is vintage and it shrunk significantly more than the more modern prints I paired it with. If I hadn’t prewashed it, my cuff would shrink at a different rate than the rest of the pillowcase and it would look really weird after the first wash.
Step 2
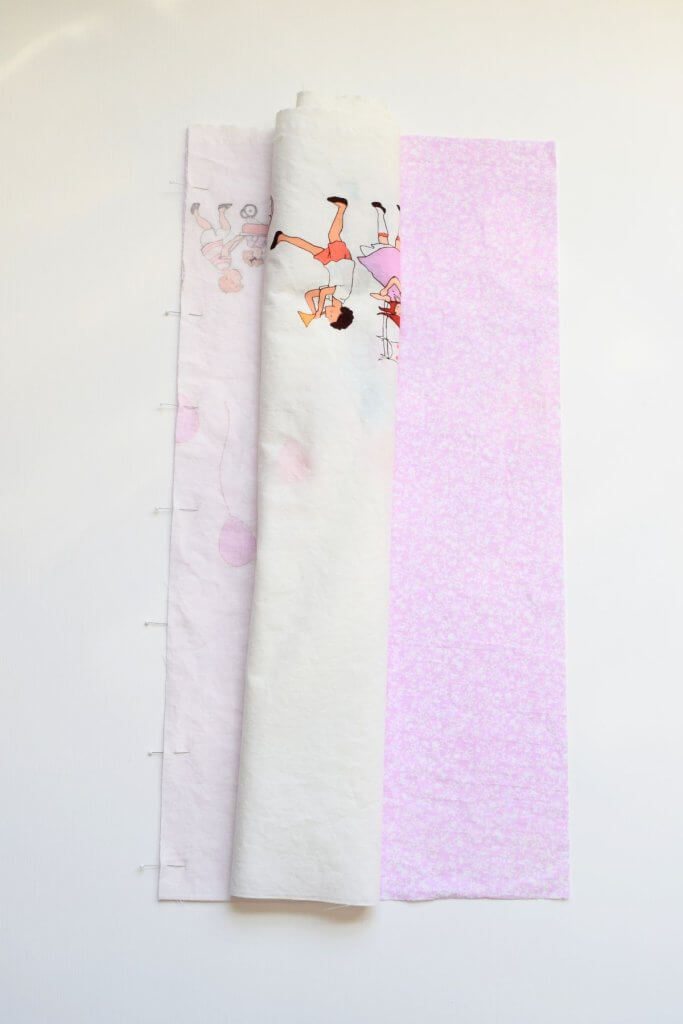
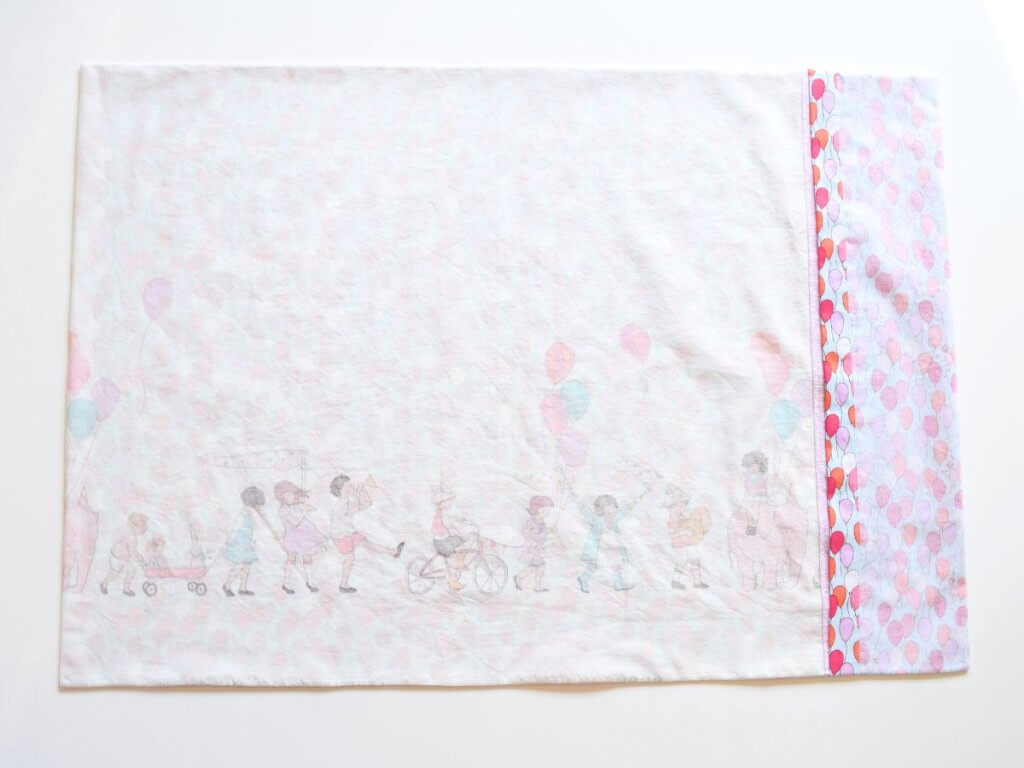
For a standard-size pillow, use your rotary cutter to cut your 3 fabric pieces to the measurements below.
- Front 21″ x 25″
- Back 21″ x 36″
- Cuff 10.5″ x 21″
The good news is this doesn’t take much fabric. In fact, you can make the whole thing with just a yard!
Step 3
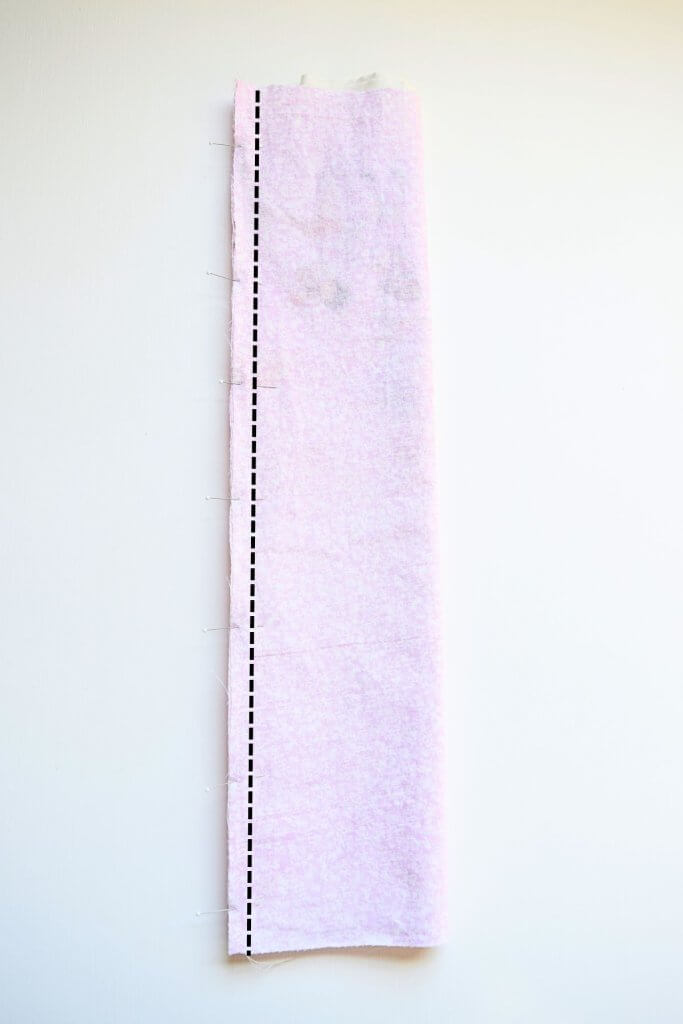
Take the front and cuff pieces of fabric and place them right sides together. The “right side” of the fabric is the front or good side, usually the side with the pattern or the most vibrant color.
Match the short edge of the front to the cuff and pin them together.

Step 4
Now we’ll use the burrito method to attach the cuff to the front side with no raw edges showing!
Flip the front piece over so that the cuff piece of fabric is underneath it. Roll the longer front piece a few times so that you can see the cuff below.
Bring the, now visible, edge of the cuff to meet the edge that you pinned before, and pin all three layers (cuff, front piece, cuff) together. It’ll seem wrong at first, but the front piece will be rolled up inside the cuff. Keep going, it’ll make sense in a minute! Sew down the pinned edge with a straight stitch.
Pull the front piece out of the side of the tube you’ve created. Keep pulling until everything is right side out again.

Press everything flat with an iron. See how nice it looks? No raw edge!

Top stitch the cuff near the seam where it connects to the front panel. Top stitching makes things look more finished and will keep the cuff in position.
Step 5
Take the back piece and press one of the short ends towards the wrong side of the fabric 1/2 inch.

Then press it over another 1/2 inch to encase the raw edge. Sew a line down the edge to keep it in place.

Step 6
We’re almost there! There are a couple of different ways to do this last part, so I’ll let you choose. Option 1 is my favorite because it gives you the quickest and easiest way to achieve a finished edge. Option 2 takes a little bit more work, but will completely encase your edges and give you a super neat finish. There isn’t necessarily a right way to do this, just decide which one sounds better to you!
Option 1 Serge or zigzag stitch
This option is definitely the easy way to finish your pillowcase and I can’t tell you how much I love an easy solution.
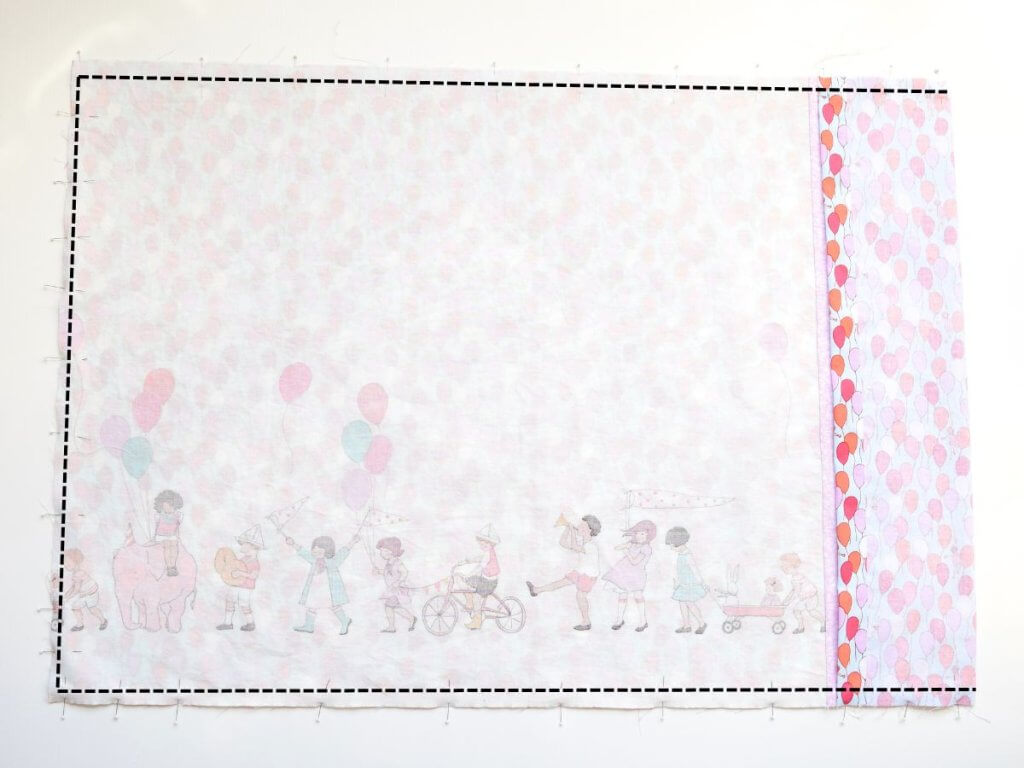
Put the front and back pieces right sides together. Make sure the 2 long sides and the short side with raw edges are lined up together. Fold the flap over the cuff and pin it all together. Everything will be inside out.

Use a 1/4 inch seam allowance to sew around each long side and the short side without the cuff and fold.
Then use a serger or a zig-zag stitch to sew around the same edges as above.
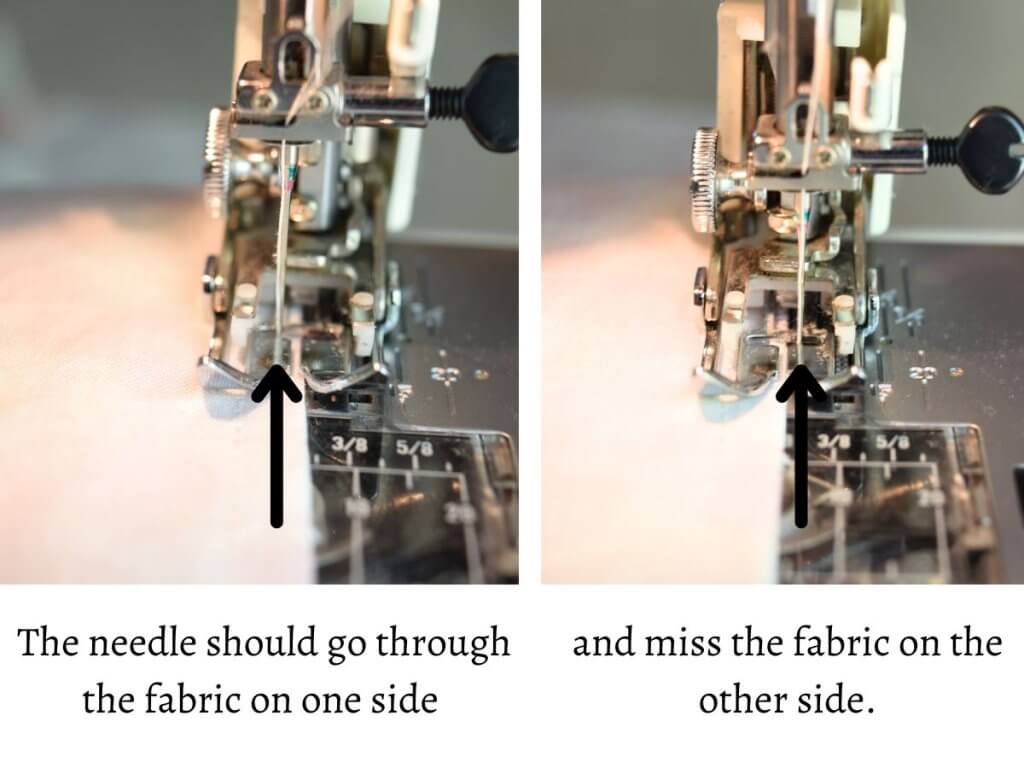
When using a zig-zag stitch, center your fabric under your presser foot. Your needle should come down on your fabric on one side and off of the fabric on the other side.
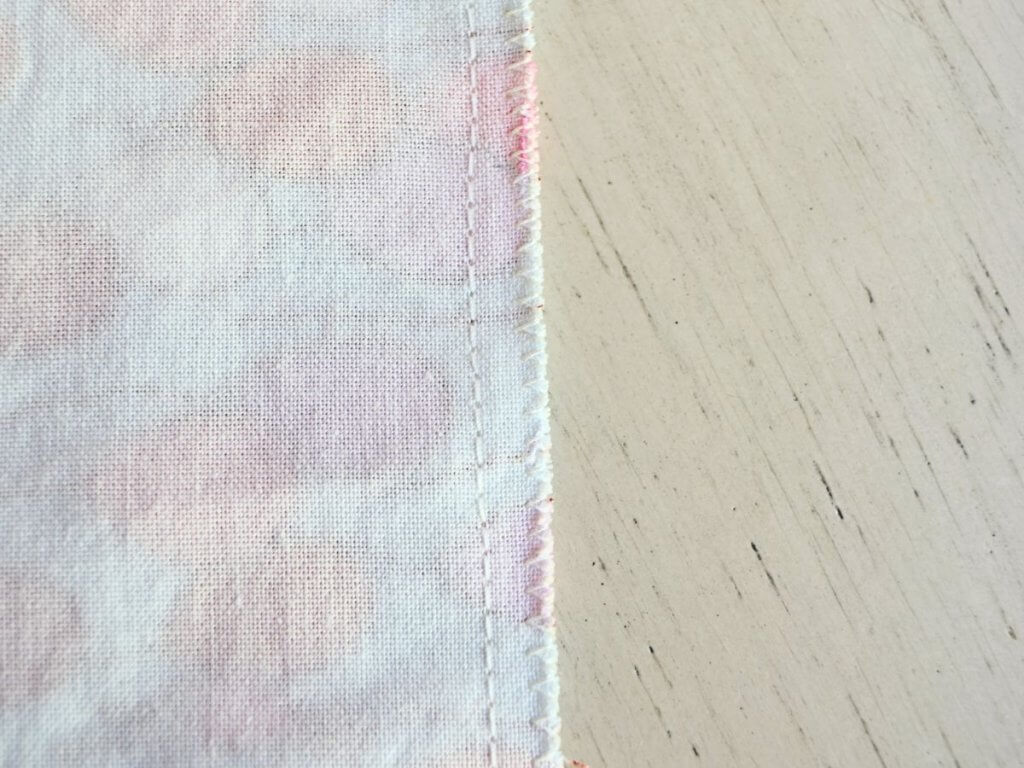
A zig-zig stitch will look something like this when finished.
Option 2 French seam
French seams, although they add some extra steps, are a beautiful way to give your pillowcase a really lovely and durable finish. You don’t see the edge of the fabric at all, they become completely encased. Sometimes it’s worth it to make a little extra effort.
First, put the front and back pieces together with wrong sides together. Make sure the long sides and the short side with raw edges are lined up together. Fold the flap so that it is in between the cuff and back piece as it will be when finished. Pin it all together.

Side note: You’ll notice that I didn’t cut the selvage off of the front piece. That’s something I normally do, but in this case, I needed to use it to be able to squeeze 2 pillowcase fronts out of the fabric I was using. Part of the selvage ends up trimmed in the next step and what’s left is not visible after the final seam is sewn.
Sew around the edge of the pillowcase with a 1/4 inch seam allowance, leaving the side with the cuff and the flap open. Trim off the edge of the fabric down to a 1/8 inch seam allowance.

Turn the whole thing inside out. Fold the flap over the cuff to cover the opening. Press the edges of the pillowcase flat. You can use an iron or just finger-press them.
Sew around the three edges as before with a 1/4 inch seam allowance. You should encase the exposed seams and raw edges, leaving you with no raw edges anywhere! It’s such a clean look!

Now you’ve finished your easy pillowcase with an inner flap.
All you have left to do is turn the pillowcase right side out, put your pillow in, and take a nap!
This easy pillowcase with an inner flap is really a great beginner sewing project. Once you learn the steps it’s so quick and simple!
Personalized DIY pillowcases make lovely gifts for family members and friends. Who will you make one for?
Useful tools for this project
Pin it for later!
Fantastic easy to follow instructions! Thank you! I’m definitely gonna give this a go!
I think you’ll love it! They are really a lot of fun to make.
This is so cute! I need to make these for the kiddos
Absolutely! They’ll love them!
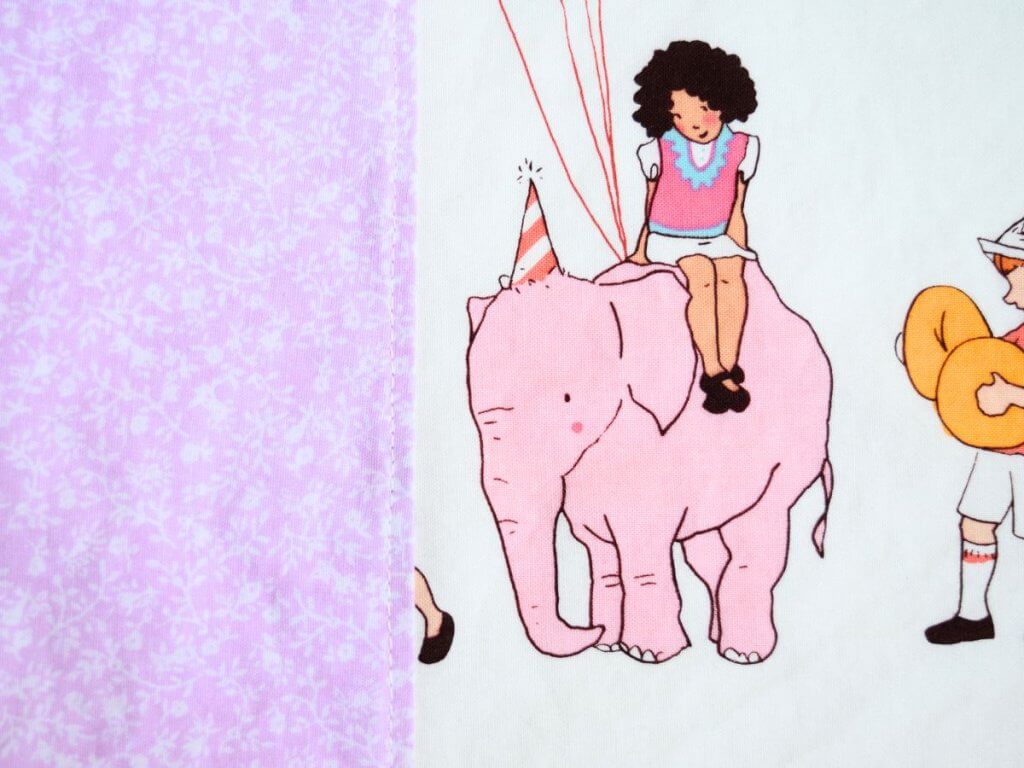
Thank you for these easy instructions. The children’s parade fabric is so enchanting and I would like to inquire where you found it, I hope it’s still available.
Isn’t it fun? The fabric is the On Parade print by Sarah Jane. It’s part of her Children at Play line. I bought mine years ago, but it’s still available online. Try Etsy!
Have you made these for travel size pillows? I would love to have the measurements to make some. Thank you!
I can’t wait to try my hand at this. Seems pretty straight forward. Thanks so much. Also, do you have measurements for larger pillows or a suggestion? Again. Thank you.
Unfortunately, I don’t have measurements for larger pillows because I’ve only ever made the one size. If I were going to make some, I would either measure the pillows or, if I didn’t have them on hand, I would look up the dimensions online. Good luck!
Janet,
I just found your instructions a few months an ago and plan to make several for my husband. ( for Valentine’s Day) hehe.
Thank you for the great post! I love the fabric you used.
Thank you! What a great idea! I’m sure he loved them.
I don’t see a seam measurement. I am assuming it is 1/4″. I will try that and see what happens.
Yes, if I haven’t noted a specific seam allowance, I typically use 1/4″.