
I’ve needed a new ironing board cover for probably the last three years. I use it all the time and it’s just gone from bad to worse. But today, my friends, is the day. I’m making a new ruffled ironing board cover!

This post contains affiliate links, which means I make a small commission at no extra cost to you. See my full disclosure here.
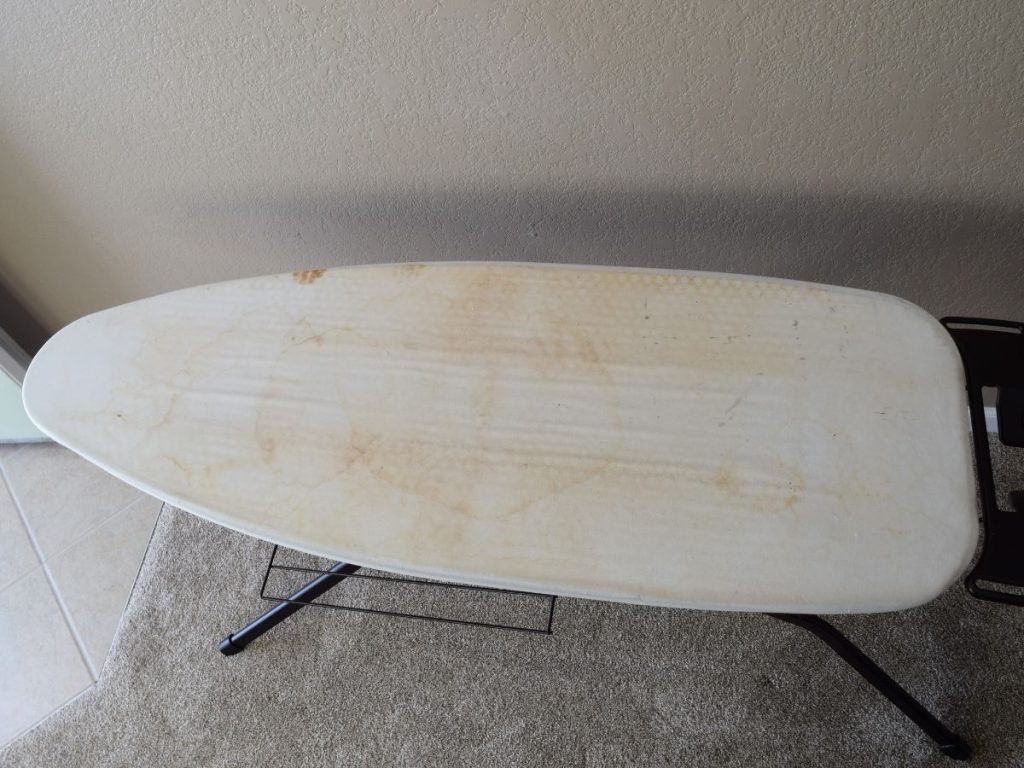
Here’s what I was working with. Ew.
I had two things in mind as I chose the fabric and design for my new cover.
First, it needed to be a neutral color. I live in a small house and the single bathroom we have also serves as a laundry room. The laundry nook is open to the rest of the room and the ironing board lives between the washer and the wall. I hoped that a neutral color would help the ironing board blend in because I’m trying not draw attention to it when it’s being stored.
Second, it needed to be pretty, for no other reason than that I like pretty things. And because everything’s prettier with ruffles, I decided to add one. For me, my ironing board mainly functions as a pressing board for small things when I sew, which is almost daily. I rarely use it for ironing anything that might hang over the edge. If I did, the ruffles might not be very practical and could get in the way. It’s something to keep in mind if you plan to make one yourself.
Here’s what you’ll need.
- Your ironing board
- Cotton fabric
- Coordinating thread
- Batting
- Cord
- Safety pin
- Ruler or tape measure
- Fabric marker
- Rotary cutter and cutting mat
- Scissors
- Sewing machine
The yardage you’ll need will vary depending on the size of your particular ironing board, so you’ll have to measure yours to ensure you have the correct amount. My board is a little larger than the standard size.
Let’s get started on your ruffled ironing board cover.
Lay your fabric out right side down. Lay your ironing board upside down on top of it.

Measure 1/2″ all the way around, marking with dots every so often. I used my fabric marker for this.

Connect the dots all the way around and cut out the resulting shape. It will look just like the top of your ironing board, just a little bigger.

Now for the ruffle. Measure the perimeter of the shape where you want the ruffle to be and multiply that by 1.5. If your ruffle will go all the way around your board, then measure the whole perimeter. If you have a platform for your iron at one end of your board, then you’ll leave off the flat end in your measurement. Next, cut a 3″ strip that is the length you just calculated above.

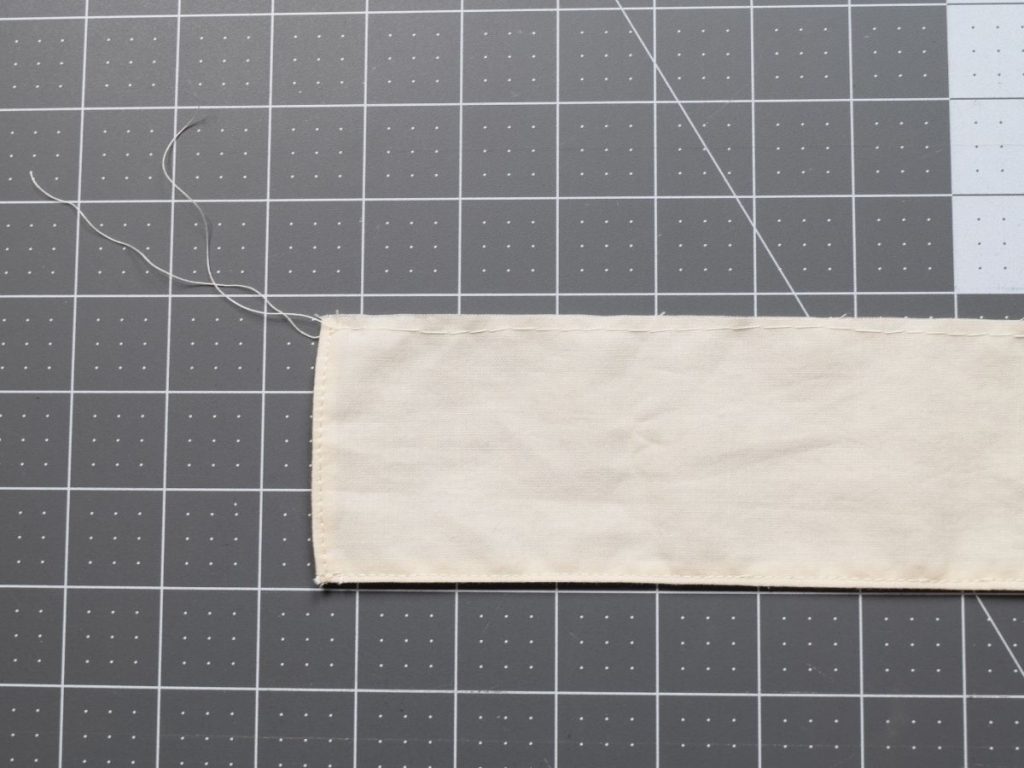
You will probably have to join strips together to achieve the correct length. Just sew the ends together and press open. I left my edges raw since the seams are short and will be hidden under the ironing board. They’re unlikely to unravel a lot, but if you’d like you can finish the edges by serging or using a zig zag stitch.

I finished the bottom edge of my ruffle by serging it, folding the serged part up on the wrong side of the ruffle, and sewing it in place. If you don’t have a serger you can achieve a similar finish by zig zag stitching the edge. Alternatively, you can just sew a narrow hem. I chose the serger route because it seemed to be the quickest option.

If your ruffle will go all the way around the board, then sew the ends of your ruffle strip together and press the seam open just like you did to join the strips together. If the ruffles will only go partially around the board, you’ll want to finish each end separately. You can hem them in the same way you chose to hem the bottom edge of the ruffle.

Set your sewing machine to its longest stitch length and sew along the whole length of the top of the ruffle strip. Make sure to leave a tail of thread at each end. They should be long enough for you to grasp and pull.
Pull one of the strings to create a ruffle. Adjust it so that the ruffles fit evenly around your board.

Then with right sides together, pin your ruffle to the top piece. When you’re done, baste the pieces together. It should look something like this.

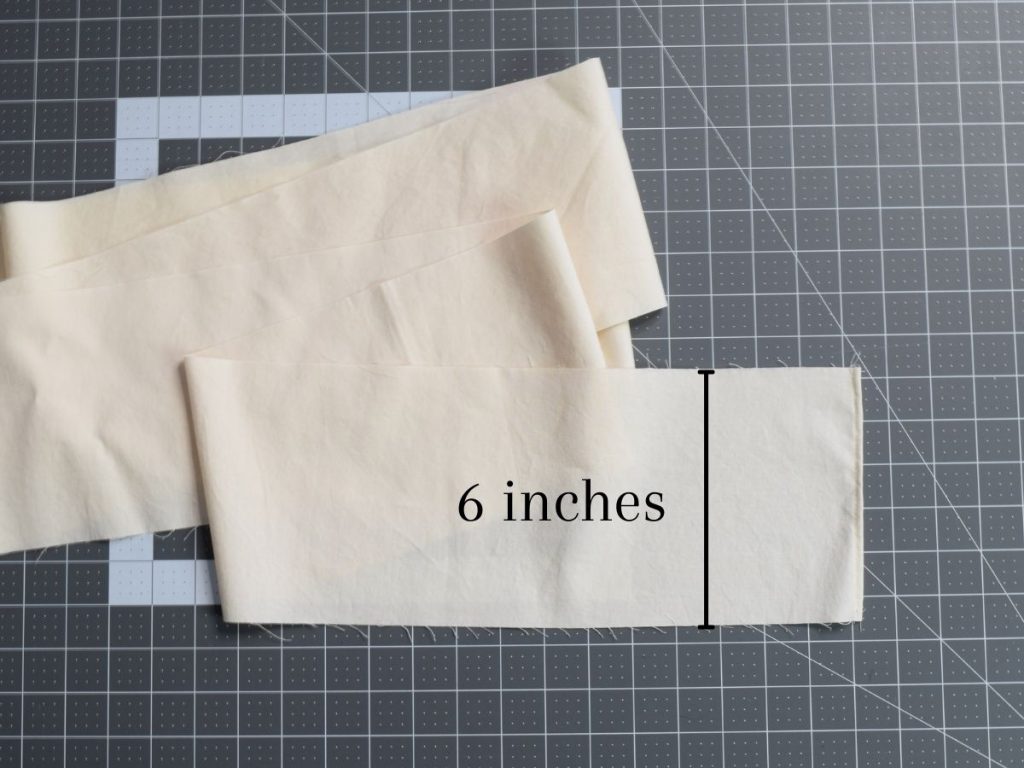
Next, cut a strip that is 6″ wide and the length of the perimeter of the ironing board top plus another 1/2″. You’ll probably have to join strips like you did for the ruffle. Fold each end 1/4″ in and sew in place. This will be your casing.
Iron the casing strip in half. Pin it on top of the ruffles, matching raw edges together. Ease it around the curves. Then sew the pieces together. Now it should look like this.

Feed your cord through the casing. To make this easier, you can attach a safety pin to one end and wiggle it through. The large width of the casing makes this go fairly quickly.

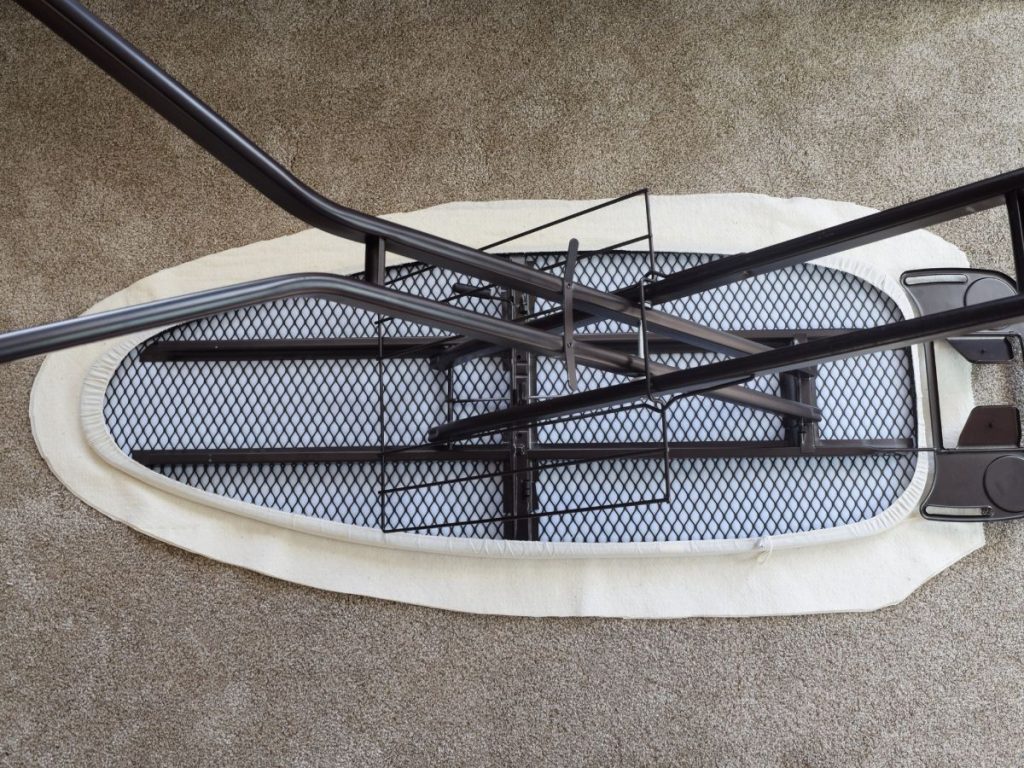
Now your cover is done! If you think you need more padding, then you can easily add a layer or two of cotton batting under your cover. Lay your ironing board on top of the batting and cut about 3″ out from your board. I just eyeballed it.
My batting went right over my old cover. I couldn’t bring myself to throw away my old one because about four years ago when the board was still new and my son was still small, he reached up and grabbed the edge of it with sticky peanut butter hands. His little fingerprints are still there, and I love them so much. So, the old cover will stay under the new one and add a little more padding.

Put your cover on over the batting. Cinch the cord, tie it, and tuck the ends behind the casing.

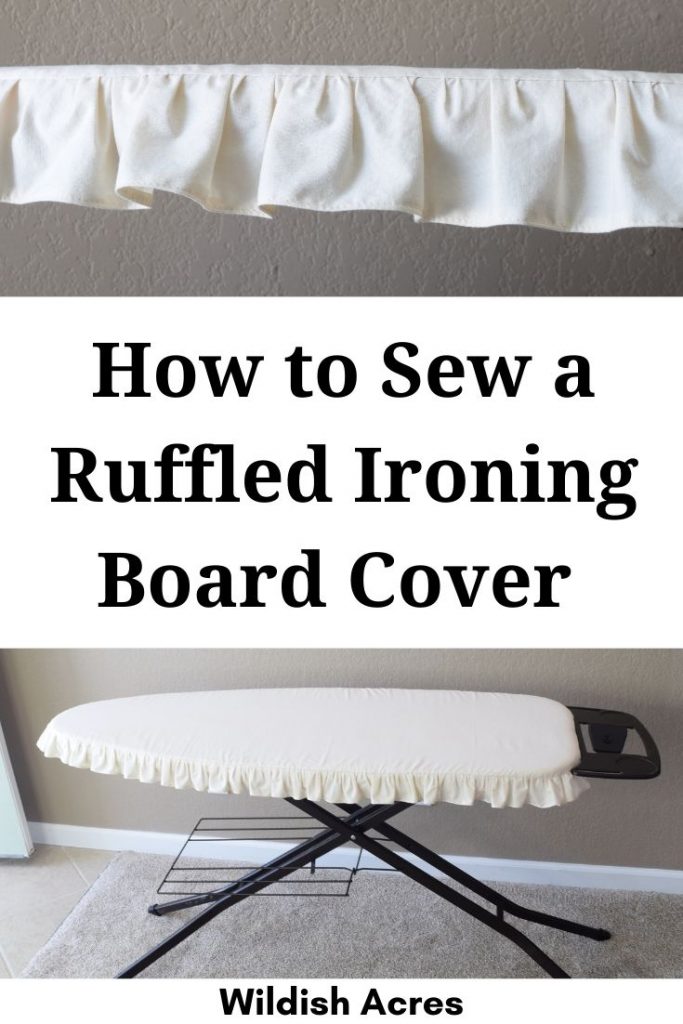
Now step back and admire your new ruffled ironing board cover!

Isn’t it the cutest ironing board you ever did see? I think it would blend perfectly with farmhouse or cottage decor. It could be so beautiful in a floral print or ticking stripe.
It’s probably time for you to replace your ironing board cover. If you give it a try, I’d love to hear how it turned out!
Shop this post
Pin it for later!
Leave a Reply