
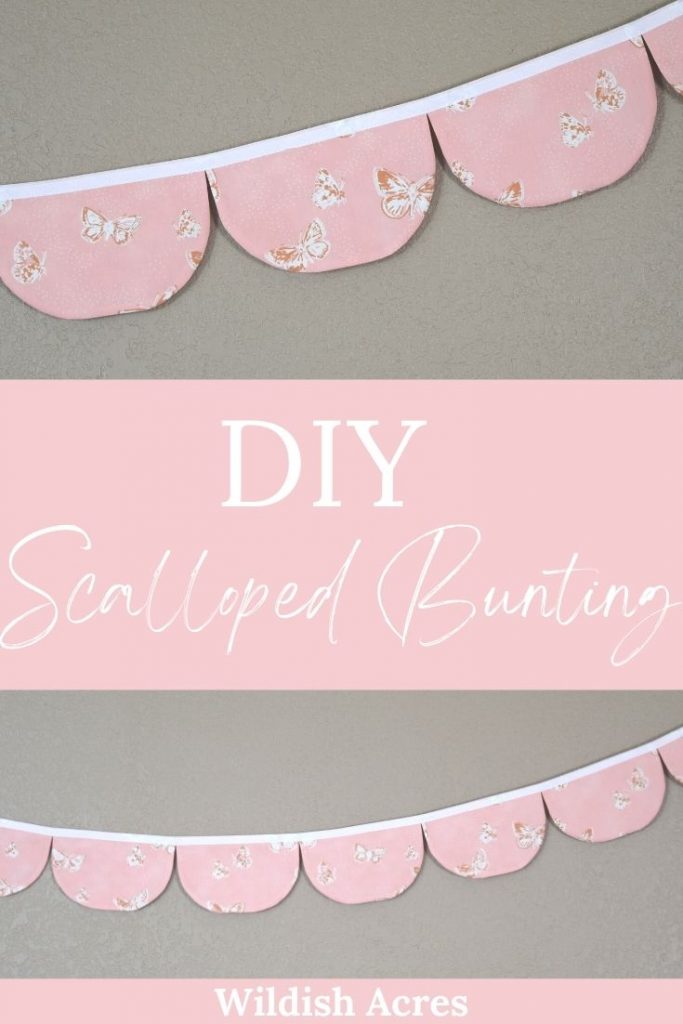
Learn to sew a sweet, scalloped fabric bunting banner with this simple tutorial. It’s a great way to tie all of the fabrics, patterns, or colors in a room into one decor piece.
This post contains affiliate links, which means I make a small commission at no extra cost to you. See my full disclosure here.
Buntings are my go-to wall decor for kid’s rooms and parties. They’re SO EASY to whip up and they always look so cheerful.
We moved into this house just recently, but we’re unpacked and it’s finally time to decorate! One of the things I planned to make for my daughter was a scalloped fabric bunting. I’d made a lot of triangle shaped buntings before, but I’d never tried a scalloped one. I love scallops and I think the curved shapes seem much more feminine than the sharp angles of a triangle, so I thought it would be fun to try to make one with the pretty butterfly print fat quarter I’d picked out.
It was a fun project and I’m so pleased with how it turned out. I hung it above my daughter’s bed and it looks adorable!
Here’s what you’ll need for your own scalloped fabric bunting.
Let’s get started!
First, cut the fat quarters into 12 pieces. This is how I cut mine.

If you have yardage or even scraps, you can definitely use those instead!
Next, cut a piece of cardstock into the same size as the fabric pieces. Round the two bottom corners by tracing a circular object, then cut on the lines to create the template for your scallop shape. Remember, to account for the seam allowance, the template should be a bit bigger than you want your finished shape to be.
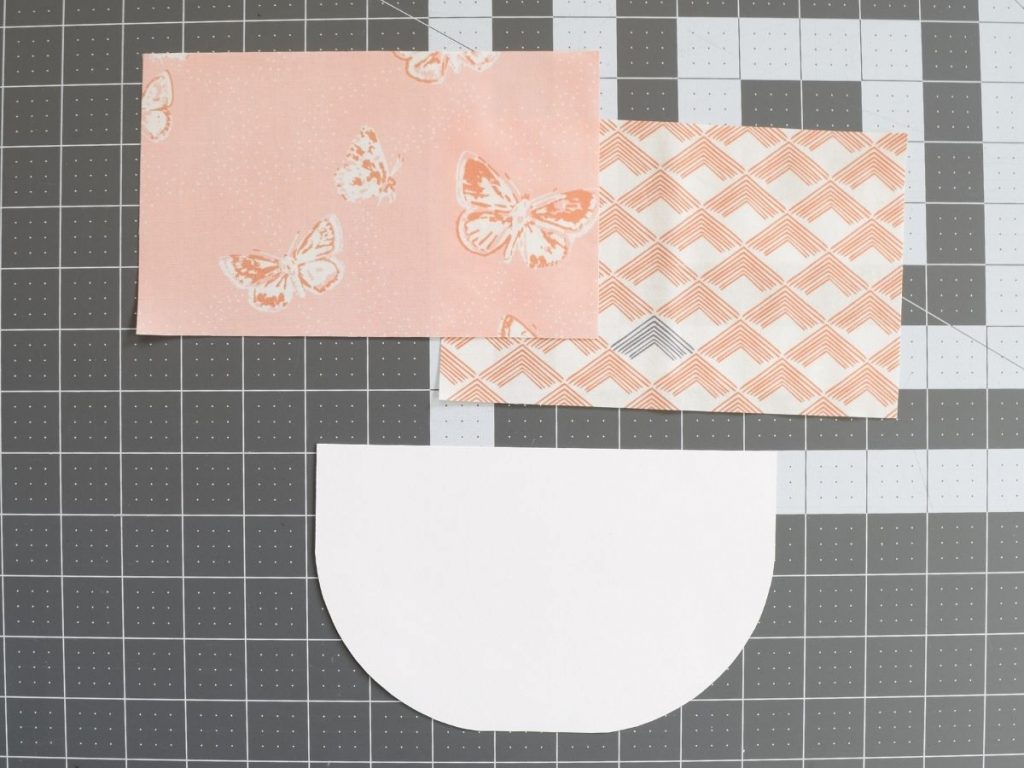
Trace the template on to the fabric and cut out the resulting shape.

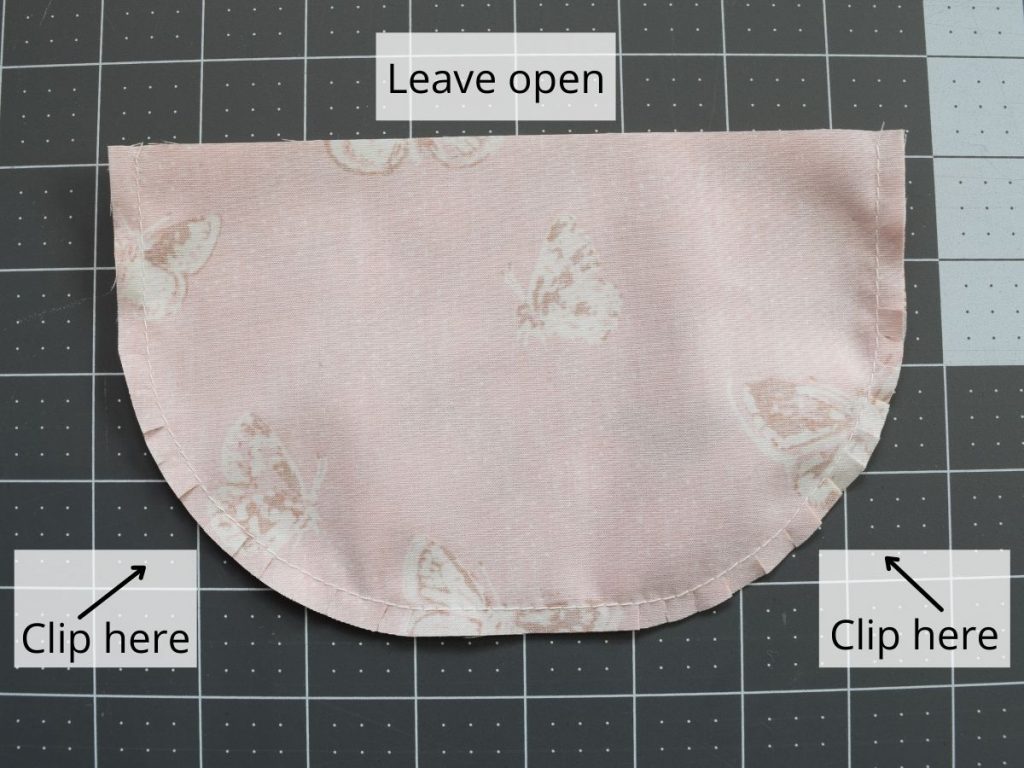
Place a front piece and a back piece right sides together and sew around the scallop, leaving the top edge open. Then, clip the curved edges. Make sure you don’t cut through your stitching! Repeat for all the scallops.
Clipping edges can seem like a tedious waste of time, but don’t skip it! It’ll make your finished product look so much neater. Snippers are my favorite tool for when I have a lot of edges to clip. They aren’t absolutely necessary, but they help so much!
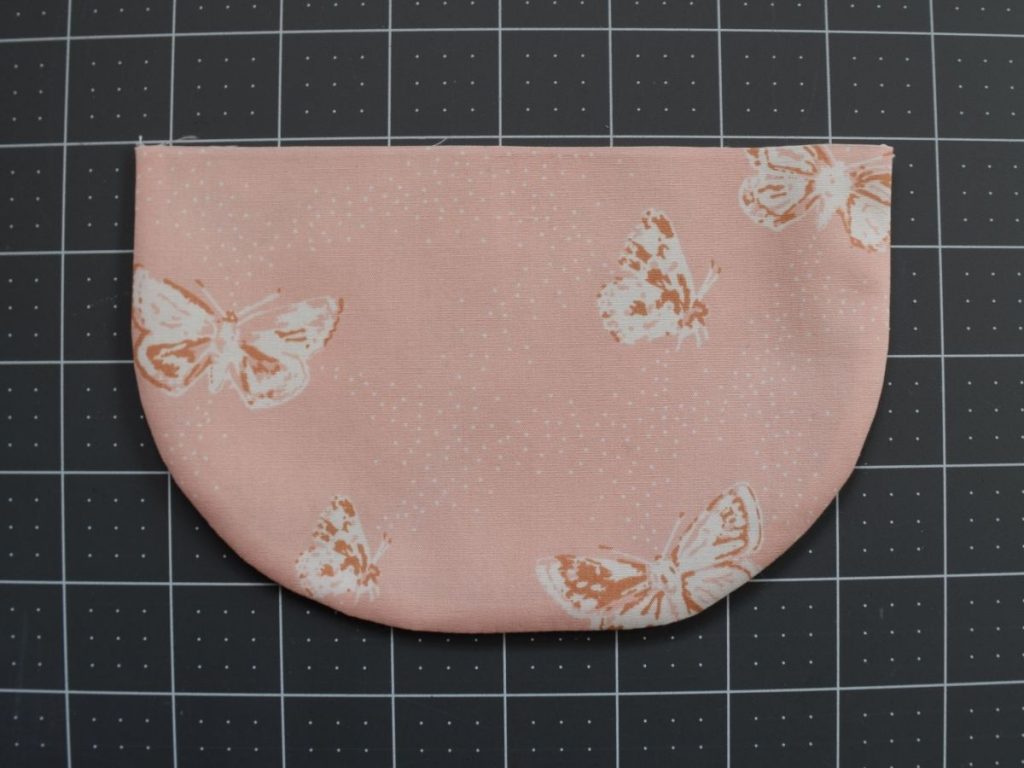
Turn the scallops right side out and press with an iron.
Enclose the raw top edges of the scallops with the bias tape and pin in place.
You can easily make your own bias tape like I did here, but I already had a premade one on hand. I like to use a premade bias tape for buntings when I can because it makes the whole project go much more quickly.

Tuck the ends of the bias tape in for a finished look.

Sew all the way down the bias tape. Make sure you catch both sides of it with your stitches.

All you have to do now is hang it up! Don’t limit yourself to just a wall, try the footboard of a bed or on a wide window. If you make one for a party, then the side of a table or between trees is pretty.
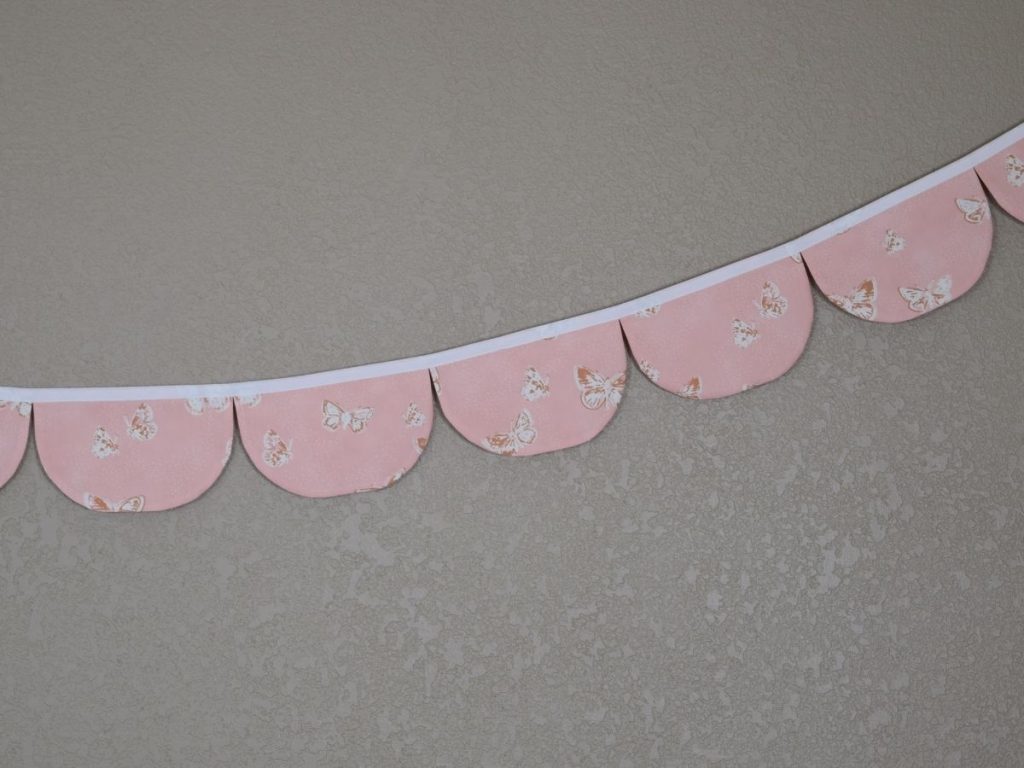
Isn’t it sweet? I just love it! Now I just need to find an excuse to make another scalloped fabric bunting banner.

Leave a Reply